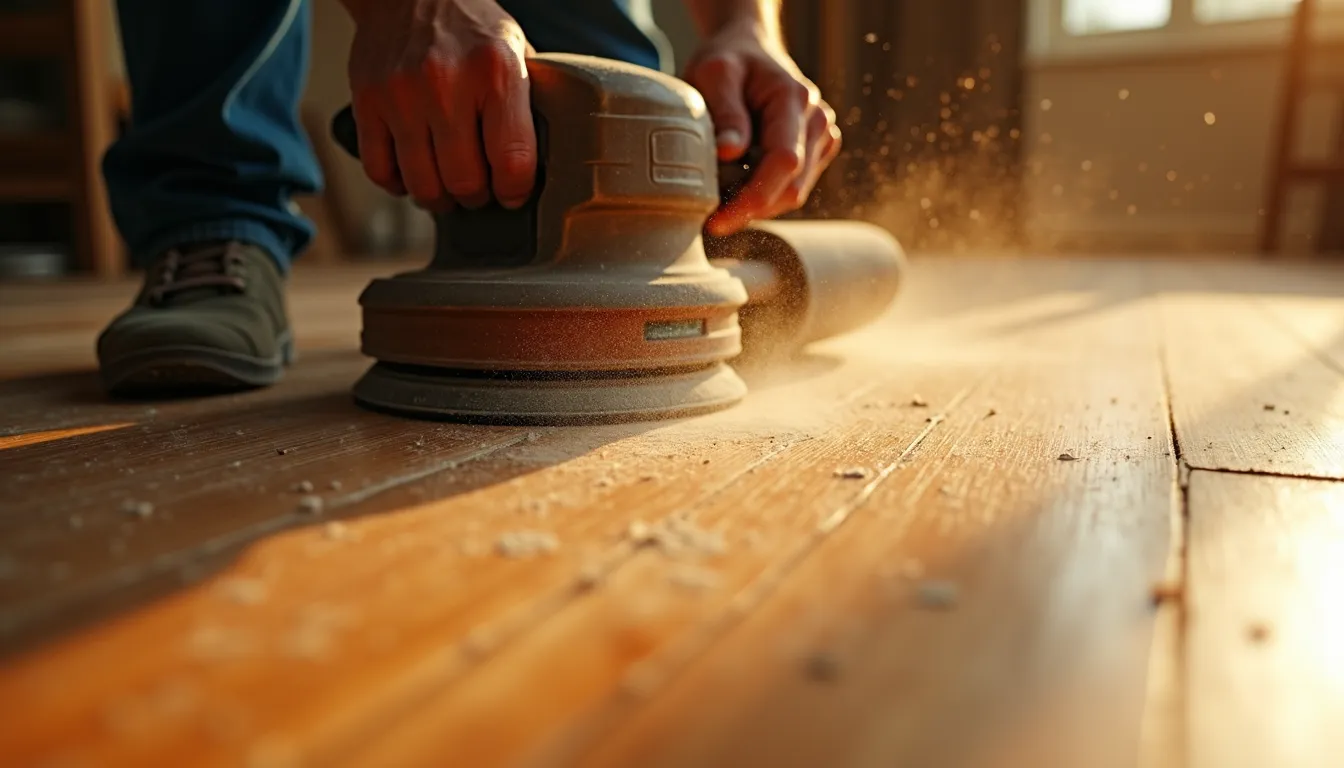
Sanding a wooden floor is an important component of repair and maintenance of wooden surfaces. This process not only improves the aesthetic appearance of the floor but also extends its lifespan by protecting it from various damages. The main task of sanding is to eliminate unevenness, scratches, and other defects that may occur during use.
Before starting the sanding process, it is important to note that the floor must be thoroughly cleaned of dirt, dust, and other contaminants. This helps to avoid further damage and ensures even sanding. When working with wood, it is necessary to consider that this material has its natural texture, so each type of wood requires an individual approach.
Wooden floors can have various finishes: varnish, oil, paint. Before sanding, it is necessary to determine what exactly is present on your floor. Oil, for example, may be more difficult to remove, while varnish may require a stronger abrasive material.
Additionally, it is important to remember that the correct choice of sanding equipment is critically important. For example, rotary machines are usually used for large areas, while narrow sanders help reach hard-to-access places.
| Type of wood | Recommended abrasive |
|---|---|
| Pine | 150-180 grit |
| Oak | 120-150 grit |
| Ash | 100-120 grit |
Main stages of sanding a wooden floor:
- Assessment of the floor’s condition
- Selection of equipment and abrasive materials
- Sanding: several passes with different grades of abrasives
- Finishing treatment
- Care for the floor after treatment
When sanding, the main thing is not to rush. Incorrect or overly fast movements can lead to deepening scratches or unevenness, negatively affecting the result. During sanding, the machine should be held at an even angle and not linger in one place for too long.
Proper preparation and chosen sanding technique for the wooden floor is the key to ensuring it will serve you for many years.
Thus, knowledge of the basic principles of sanding a wooden floor will help you not only achieve a perfect appearance but also keep your floor in optimal condition. It is important to monitor the quality of each stage to ensure that in the end, you have a floor you can be proud of.
Choosing sanding equipment
Choosing the right equipment for sanding a wooden floor is a critically important stage, as it determines not only the quality of the treatment but also the convenience of the process. Keep in mind that there are many options on the market, each suitable for specific types of work. It is important that the equipment meets your needs and the condition of the floor.
Before making a decision, consider several main types of sanding machines:
- Belt sanders: Great for large areas. They provide effective removal of the top layer of the finish, but can be more difficult to manage.
- Disc sanders: Ideal for medium and small areas. Thanks to their circular movements, they allow for an even surface.
- Narrow sanders: As the name suggests, these devices are indispensable in hard-to-reach places, such as near walls or columns.
Additionally, do not forget about the importance of choosing abrasive materials. They affect the quality of your floor’s treatment. Different materials are suitable for different types of wood and finishes. For example, if you are working with varnish, you may need a coarse abrasive, while for removing an old oil finish, a lighter abrasive may suffice.
| Type of sanding machine | Advantages | Disadvantages |
|---|---|---|
| Belt | Fast removal of the finish | Difficulty in management |
| Disc | Ease of use | Inconvenience on large areas |
| Narrow | Ideal for corners | Weaker power |
The next step is to check the availability of replacement parts for the chosen equipment. When purchasing or renting a sanding machine, make sure that there is a possibility to buy spare parts and abrasives nearby. This will ensure continuity in your work, preventing unexpected interruptions from disrupting the sanding process of the wooden floor.
Equally important is attention to safety. Using protective goggles, headphones, and a respirator will help avoid negative consequences related to dust and noise. Never neglect these protective measures – it is better to think about safety at the beginning than to fix the situation later.
Choosing the right equipment is the foundation of successful sanding of a wooden floor. Properly selected techniques will allow you to achieve the desired result, save time and effort, and create a favorable atmosphere for completing the work.
Preparing the floor for sanding
Before proceeding to sand a wooden floor, it is important to thoroughly prepare it for this process to ensure maximum effect and quality of work. Preparation includes several stages that, if done correctly, can significantly ease the sanding and improve the result.
First of all, you need to carefully inspect the floor. This may include checking for cracks, dents, or other damages that need to be repaired before sanding.Here are a few important aspects to check:
- Condition of the wood: Detecting rot or moisture is critically important, as it can significantly affect the quality of sanding. If problems are found, it is recommended to address them before starting work.
- Number of finishes: Determine how many layers of varnish or other finish you plan to remove. The more finishes, the more effort will be required to remove them.
- Presence of unevenness: If the floor has significant height differences, implement initial leveling using putty or leveling varnish.
After you have completed the inspection, the next step is cleaning the floor. Dust and dirt can become a serious obstacle to effective sanding. The following procedure is recommended:
- Remove all furniture and items from the floor. This will not only create free space for work but also prevent possible damage.
- Wipe the surface with a damp cloth or mop to collect all dust and small particles.
- Conduct a wet cleaning to remove dirt and remnants of old finishes, if any.
- Ensure that the floor is completely dry before starting sanding.
Remember that quality preparation is no less important than the sanding process itself.
In addition to physical preparation, do not forget about safety. Keep your workspace safe by closing doors or using damp cloths to reduce dust. Use personal protective equipment: masks, goggles, and gloves. This will ensure your safety during work, where dust and harmful particles can be dangerous to health.
Preparing the floor is the key to successful sanding. With this positive start, you will achieve significantly better results that will please you for many years. Do not rush – pay due attention to all the aforementioned preparation stages, and your “sanding of the wooden floor” will be not only a simple but also a pleasant process.
Sanding technology: steps and recommendations
To ensure that sanding a wooden floor is successful, it is important to follow a certain technology that includes several key steps. Each of these stages has its own features that require attention and skill. The first thing to remember is the importance of performing all actions in the correct order to avoid unnecessary effort and achieve the desired result.
At the start of the process, it is recommended to choose the right abrasive grade for the sanding machines. Typically, sanding begins with a coarser abrasive to remove the largest unevenness, and then moves to a finer one to achieve smoothness. Usually, the process consists of three main passes:
- Coarse sanding: Use an abrasive with a grade of 60-80 grit to remove the top layer of varnish or old paint. This stage involves more aggressive movements, as it is about eliminating defects.
- Medium sanding: After the coarse pass, switch to an abrasive of 100-120 grit. This stage helps correct defects, eliminate small scratches, and prepare the surface for finishing sanding.
- Finishing sanding: Use an abrasive grade of 150-220 grit to achieve maximum smoothness. This stage usually proceeds with light pressure, which helps avoid the emergence of new scratches.
The next step is to control the temperature and humidity of the room. To achieve the best results, the floor should be sanded at a temperature not lower than 15 degrees Celsius and not higher than 30 degrees. The humidity of the air, in turn, should be below 70%. These factors affect how the wood will react to treatment and the quality of the finishing treatment.
Controlling working conditions is the key to perfect sanding of a wooden floor!
To avoid damage, it is important to follow the direction of treatment. Traditionally, sanding is performed in the direction of the wood grain, which helps reduce the risk of splinters and increases the quality of treatment. If this rule is not followed, the result may be far from expected, with chips and unevenness on the surface.
Equally important is careful cleaning after each sanding stage. Residues of abrasives, dust, and other particles can spoil subsequent passes, so act cautiously.
| Sanding stage | Abrasive grade | Goal |
|---|---|---|
| Coarse sanding | 60-80 grit | Removal of the top layer of finish |
| Medium sanding | 100-120 grit | Correction of errors and scratches |
| Finishing sanding | 150-220 grit | Achieving surface smoothness |
The final stage is a thorough inspection of the sanded surface. After finishing sanding, walk across the floor, checking for any areas that require additional sanding or correction. Ensure that the area is clean and ready for further finishing treatment, which, in turn, will protect your wooden floor. By following all these steps, you will not only improve the aesthetics of the floor but also extend its lifespan, ensuring that your sanding of the wooden floor will bring you satisfaction and pride for many years.
Tips for choosing abrasive materials
Choosing abrasive materials is one of the most important aspects of sanding a wooden floor. Abrasives, just like sanding machines, come in various types, so it is essential to know which material will suit your specific case. With abrasives, you can control the depth of sanding and achieve the desired result. The main characteristics to consider are grade, material composition, and shape.
Abrasive grade determines its roughness. The lower the grade number, the coarser the abrasive. For sanding a wooden floor, it is necessary to use abrasives of different grades during the work:
- Coarse abrasives (40-60 grit) – for removing old finishes or large defects.
- Medium abrasives (80-120 grit) – for eliminating errors, smoother treatment, and preparing for finishing sanding.
- Finishing abrasives (150-220 grit) – for achieving smoothness and preparing the surface for finishing treatment.
Materials used for abrasives can vary. The most common are:
- Corundum: used for sanding various materials, including wood, and is very durable.
- Diamond: ideal for very hard wooden finishes, but oil and polyurethane finishes should be treated with caution.
- Silicon carbide: has high abrasiveness and is usually used for processing wet materials.
| Type of abrasive | Advantages | Disadvantages |
|---|---|---|
| Corundum | Durability and versatility | May leave scratches on soft wood |
| Diamond | High efficiency on hard finishes | High cost |
| Silicon carbide | Versatility and high abrasiveness | Less durability compared to corundum |
The shape of abrasives can also vary. It is important to use materials that match the shape of the sanding machine and the specifics of the floor. Disc abrasives, belt abrasives, or even roller-shaped discs – all have their peculiarities in application. A well-chosen shape of the abrasive will allow for convenient processing of hard-to-reach places and maintaining uniformity in the work performed.
Remember that the right choice of abrasives will not only simplify the work but also significantly improve the results of sanding a wooden floor.
Next, pay attention to professional recommendations: use abrasives from the same manufacturer. This will help avoid undesirable results, as differences in material and structure can negatively affect the quality of treatment. Understanding these nuances will allow you to prepare properly for the final stage and ensure a good result that you can be proud of for many years.
Finishing treatment of the wooden floor
After completing the sanding of the wooden floor, one of the key stages follows – finishing treatment, which will not only complete the process but also ensure the durability of your finish. Finishing treatment may include applying varnish, paint, or oil depending on your preferences, type of wood, and style of the room.
Varnishes are a popular choice as they create a strong and wear-resistant surface. Varnishes have various finishing effects: matte, semi-matte, or glossy. Matte varnishes often give a more natural look to the wood, while glossy ones highlight the texture. It is important to remember that varnish should be applied in several layers to achieve maximum durability.
Paint is an excellent option if you want to change the color of the floor or create an original design. The choice of paint should also be made considering quality and wear resistance. It is important that the paint used is specifically designed for wooden surfaces.
Oil provides a natural look and enhances the texture of the wood. It penetrates the fibers, protecting the wood from the inside and giving it elasticity. This finish requires regular updating, but it is eco-friendly and safe for health.
| Type of finishing treatment | Advantages | Disadvantages |
|---|---|---|
| Varnish | Wear resistance | Can be difficult to repair |
| Paint | Wide range of colors | Can cover the wood texture |
| Oil | Natural look, fiber protection | Requires frequent updating |
Finishing treatment should be applied under proper preparation conditions when the wood is completely dry. Use a soft brush or roller depending on the chosen treatment. Apply layer by layer, adhering to the recommended drying time between applications. This will prepare your floor for long-term use with a good appearance.
Remember that finishing treatment is the final touch that can significantly change the look and durability of your wooden floor.
Care for the sanded and treated floor is also an important aspect that will affect its appearance and durability. Regular cleaning, using special wood care products, and timely treatment of damages will significantly extend the lifespan of your floor.
Care for the sanded floor
Caring for a sanded wooden floor is extremely important for preserving its original appearance and extending its lifespan. Proper care helps avoid damage and maintain aesthetics for many years. One of the main aspects to pay attention to is regularly cleaning the floor of dust, dirt, and other contaminants.
It is recommended to use gentle cleaning methods, such as:
- Damp mops: They help reduce dust without damaging the varnish or oil finish.
- Special wood care products: Universal cleaning agents may contain ingredients that are harmful to wood. Use products specifically designed for wooden floors.
- Soft cloths: They are guaranteed not to scratch the surface, which is especially important for a sanded floor.
After regular cleaning, do not forget to check the floor for damages, such as scratches or dents. If any defects are found, they should be repaired immediately to prevent further damage. For small scratches, wooden wax pencils can be used to easily mask the imperfections.
Floor care is not only about cleaning but also timely repair of small damages to prevent their deterioration.
In addition to regular cleaning, an important aspect is controlling the humidity of the air in the room. Wood has the property of reacting to changes in humidity levels, which can lead to expansion or contraction. Ideal conditions for wooden floors are humidity levels of 40-60% and temperatures between 18 and 24 degrees Celsius. Avoid sharp changes in temperature and humidity, as this can cause cracks or deformations.
Also, watch out for strong sunlight. Sometimes direct sunlight can lead to fading of the floor, especially in the case of varnish. Using curtains or blinds can be helpful in this case.
| Care aspect | Recommendations |
|---|---|
| Floor cleaning | Use soft mops and special wood care products. |
| Damage inspection | Regularly check the floor for defects. |
| Humidity control | Maintain optimal conditions: humidity 40-60%, temperature 18-24°C. |
| Sun protection | Use curtains or blinds to avoid fading. |
With timely care, your sanded wooden floor will remain in impeccable condition, continuing to please you with its appearance and reliability for many years. Remember that maintaining the quality of sanding a wooden floor depends not only on the sanding itself but also on the subsequent care for it.
Common mistakes and how to avoid them
When sanding a wooden floor, there are several common mistakes that can negatively affect the result of your work. Knowing these mistakes and ways to avoid them will help you achieve the desired results and keep the floor in perfect condition. Here are the main problems that craftsmen often face:
- Incorrect choice of abrasive: Using an abrasive that does not match the type of wood or the condition of the finish can lead to damage. For example, a very coarse abrasive can cause deep scratches on soft wood. It is recommended to always check the characteristics of the wood and select the abrasive in advance.
- Overheating the wood: Prolonged contact of the sanding machine in one place can cause overheating of the wood, which compromises its structure and ability to hold varnish or oil. Move the machine evenly and carefully, without lingering on one area.
- Insufficient floor preparation: Ignoring the preparatory stage leads to uneven sanding. It is necessary to clean the surface of old finishes, dirt, and dust to achieve better contact between the abrasive and the wood.
- Incorrect sanding technique: Sanding should not be done randomly. It is better to do it in the direction of the wood grain to avoid splinters and damage. Many beginners make the mistake of working across the grain, which significantly worsens the appearance of the finished surface.
- Not cleaning the surface between passes: After each sanding stage, it is important to remove dust and residues of old material. This helps avoid mixing abrasives and finishes of secondary quality and reduces the possibility of small defects.
To avoid these mistakes, we recommend following these guidelines:
- Prepare the floor for sanding by thoroughly cleaning it and addressing all issues.
- Select the abrasive according to the type of wood and the condition of the finish.
- Monitor the technique of work, working in the direction of the grain.
- Regularly clean the surface during and after each sanding stage.
Proper planning and preparation are the keys to successful sanding of a wooden floor and avoiding unforeseen problems.
With this knowledge in your arsenal, you will be able to avoid the most common mistakes and achieve a perfect result that will not only please the eye but also serve you well for a long time. Do not be afraid to experiment with techniques and approaches, as with each new sanding, you will become more experienced and professional in this craft!