There are several types of putties that are ideal for use on OSB boards. When choosing putty for OSB boards, it is important to consider its characteristics, as this will help achieve the desired result and ensure a long service life of the treated surface. Below are the main categories of putties that are most commonly used in construction practice.
| Type of Putty | Description | Advantages |
|---|---|---|
| Acrylic Putty | Made on a water basis, dries quickly, and has good adhesion to wood. | Suitable for indoor work, easy to apply, has no sharp odor. |
| Cement Putty | The main component is Portland cement, which allows for high strength. | Moisture resistant, suitable for outdoor work, such as balcony repairs. |
| Gypsum Putty | Made from gypsum, ideal for leveling walls inside rooms. | Dries quickly, easy to sand, environmentally friendly. |
| Finishing Putty | Used at the final stage to achieve a perfectly smooth surface. | Very thin, perfectly compensates for small defects. |
Interestingly, the choice of putty largely depends on the purpose of your room. For example, in conditions of high humidity, such as in a bathroom or kitchen, it is better to use moisture-resistant putties. For rooms where a stable environment is maintained, acrylic or gypsum options are suitable. Additionally, it is important to consider that the putty for OSB boards must be compatible with the board itself, as this affects the quality of adhesion and the durability of the coating.
Do not forget that before applying the putty, the surface must be thoroughly prepared and clean. This affects not only the aesthetic but also the functional characteristics of the finished treatment.
When choosing putty, always focus on the specifics of your project and the characteristics of the room!
Surface Preparation Before Putties
Before starting to putty the OSB board, it is important to carry out a number of preparatory measures that will ensure quality adhesion of the putty to the surface and avoid future problems. First of all, the surface of the board must be clean and dry. Any contaminants, such as dust, dirt, or grease stains, can interfere with the adhesion of the putty, resulting in cracks or peeling.
Here are a few steps that will help properly prepare the surface of the OSB board:
- Cleaning: First, it is necessary to wipe the surface of dust using a dry cloth or a special vacuum cleaner. If the board is contaminated with paint or grease, a mild detergent can be used, but care must be taken to ensure that residues are completely washed away.
- Drying: After cleaning, make sure that the OSB board is completely dry. The presence of moisture can negatively affect the process of applying the putty and its adhesion to the surface.
- Sanding: At the final stage, it is recommended to treat the surface with fine-grit sandpaper to reduce possible unevenness. This will allow the putty to penetrate better into the surface, ensuring reliable adhesion.
After completing these steps, you are ready to apply the putty. Remember that careful surface preparation is the key to a strong and durable finish. However, do not forget that untreated areas or defects that have not been corrected can cause problems in the future, so pay sufficient attention to each stage of preparation.
Quality surface preparation before puttying is the key to a successful result!
Choosing Putty: What Criteria to Consider
When choosing putty for OSB boards, it is important to consider several key criteria that will help ensure the ideal result of your work. First of all, you need to determine the conditions in which the putty will be used. For rooms with high humidity, such as bathrooms or kitchens, materials with increased moisture resistance should be chosen; if interior finishing is planned in normal humidity conditions, acrylic or gypsum options will suffice.
The next important factor is adhesion. The putty must adhere well to the OSB board to avoid peeling or cracking in the future. Typically, acrylic putties demonstrate excellent adhesion, while cement ones may be more difficult to apply to wood.
No less important is the drying time of the putty. If you plan to start the next stage of work (painting, wallpapering, etc.) soon after application, choose a quick-drying putty. Generally, acrylic putty dries faster than cement.
Another criterion is the environmental friendliness of the material. In Ukraine, more and more people are paying attention to the safety of materials for health, so gypsum and acrylic putties that do not contain harmful additives are becoming increasingly popular.
Also, pay attention to the finishing treatment. If you plan for the putty to serve as a base for further finishing, choose finishing putties that will provide a perfectly smooth surface without visible seams.
The right choice of putty for OSB boards can significantly affect the quality and appearance of the final product!
Finally, do not forget about cost. It makes sense to compare prices from different manufacturers, but do not forget that sometimes a discount on a cheap product can lead to additional costs in the future due to poor results. Over time, this may result in the need to redo the finishing, which will cost more than purchasing reliable putty from the start.
Tools for Applying Putty
To achieve the perfect result when puttying OSB boards, it is important to have not only the right materials but also quality tools. The right choice of tools will simplify the process of applying putty and ensure optimal quality of the finish. Here are some essential tools to have on hand.
| Tool | Description | Purpose |
|---|---|---|
| Spatula | Metal or plastic, available in various widths. | The main tool for applying and distributing putty over the surface. |
| Float | Made of rubber or plastic, has a larger area. | Used for leveling and smoothing putty over a large area. |
| Sanding Machine | A device with the ability to change sanding paper. | Helps in sanding already dried putty to achieve smoothness. |
| Roller | Fabric or foam roller. | Suitable for applying liquid putties or primers to large surfaces. |
| Mixing Container | A container in which putty is mixed with water (if needed). | Necessary for the preliminary preparation of the material. |
When choosing spatulas, keep in mind that wide spatulas (about 30 cm) are well-suited for processing large surfaces, while narrow ones (about 10 cm) are convenient for processing corners and hard-to-reach places. The float, in turn, provides a perfectly even surface and is often used at the finishing stage.
Additionally, for sanding putty, it is recommended to use a sanding machine, as it allows for a faster and more uniform result compared to manual sanding. Meanwhile, a roller can significantly ease the process of applying liquid putty; it is easier to work on large areas of walls or ceilings.
Do not forget: the quality of the tools directly affects the result of your work!
When gathering tools for puttying OSB boards, it is also important to consider their cost, ease of use, and the materials from which they are made. Quality tools will last longer and help achieve good results, so investing in them will always be justified. Ready to continue your project? The next step will be the technique for applying putty to OSB boards!
Technique for Applying Putty
The correct technique for applying putty to OSB boards is the key to a quality and durable coating that will not only highlight the excellent appearance of the walls but also protect the material from external factors. The process of applying putty may seem simple, but it will require precision and certain skills. It is important to follow the order of actions to achieve the desired result.
The first stage is preparing the putty. If your putty requires mixing, carefully follow the manufacturer’s instructions. Make sure that all components are well mixed into a homogeneous mass, without lumps. This will ensure even distribution and ease of application.
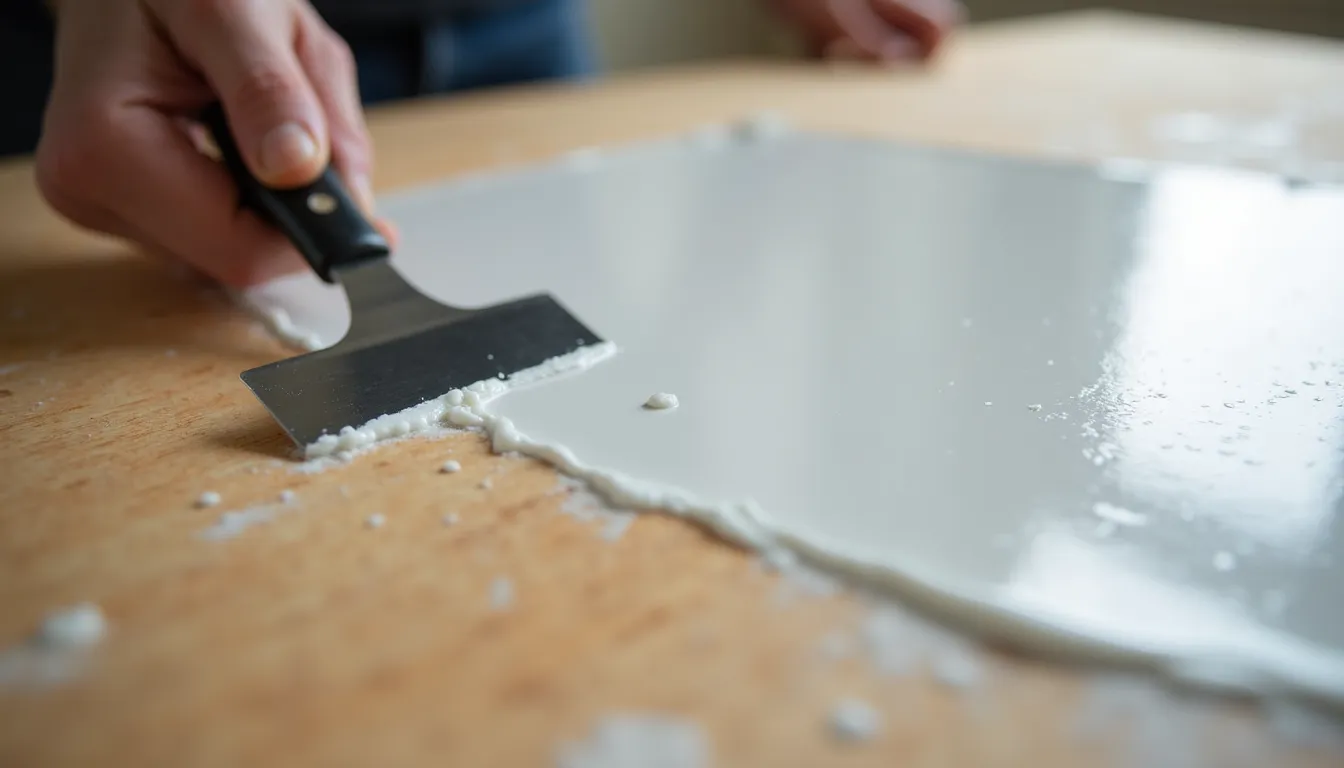
Next, move on to applying the putty. Using a wide spatula, take a small amount of putty and start from the top of the wall, slowly moving the spatula down. This will allow the putty to flow down, avoiding the formation of drips. Do not forget about the corner spatula for hard-to-reach places and corners: its shape will allow you to neatly process the areas where the walls meet.
| Stages of Application | Description |
|---|---|
| First Layer | Apply a lump of mixed putty to one of the areas, distributing it evenly. Avoid thick layers, as this may lead to cracks during drying. |
| Second Layer | After the first layer has dried, apply the next one, following the same direction but slightly shifting sideways. This is important for achieving maximum evenness. |
Each layer of putty must be left to dry completely before proceeding to apply the next one. The drying time varies depending on the type of putty, temperature, and humidity in the room, so it is worth being patient.
After applying the final layer, it is time for sanding. Use a sanding machine or sandpaper to eliminate minor unevenness and achieve a perfectly smooth surface. You can use different types of sandpaper to achieve the optimal result, starting with coarse and moving to finer. Typically, sanding is done in several stages, as each subsequent stage will remove more and more defects.
In conclusion, it is important to remember that each stage of applying putty to OSB boards plays a critical role in ensuring a quality and durable coating. The technique of application, as well as attention to detail, will allow you to achieve an incredible result that will stand the test of time!
Your diligence during the application of putty will determine not only the aesthetic appearance but also the service life of the final coating!
Drying and Processing of Putty
After applying the putty, an important stage is the drying and processing of the finished coating. This process determines how quality the result of your work will be. First of all, the drying duration depends on the type of putty you used, as well as the temperature and humidity in the room. For example, acrylic putty usually dries faster than cement putty, allowing you to move on to the next stages of processing more quickly.
It is recommended to let the first layer of putty dry completely before applying the second. This will help avoid the formation of cracks and ensure proper adhesion of the subsequent layers. Under typical conditions, the drying time for acrylic putty is about 1-2 hours, while for cement it can be up to 24 hours. It should be noted that humidity and temperature affect this process, so on a hot day, the putty may dry faster than in humid conditions.
The drying time of the putty is not a time for haste; the longer you can wait, the better the final result will be!
Once the putty for OSB boards has completely dried, the next step is to process the surface. Sanding is an important stage in this procedure, as it helps eliminate problems with unevenness and provides smoothness to the coating. Use a sanding machine or manually sandpaper, gradually transitioning from coarse to fine. This will allow you to achieve the smoothest surface possible.
Additionally, to check the quality of the putty, you can use a light source. Walk around the treated area with a lamp in hand: point light can reveal even the smallest defects that are not visible under normal lighting. If you find any flaws, it is better to fix them at this stage, as it will be easier to do so before the next finishing.
When sanding, try to work with a mask and protective glasses, as the dust generated can be harmful to the respiratory system. Do not let your guard down—safety should come first!
After completing the processing, you can proceed to the next stage—the finishing of the coating. This may include painting, wallpapering, or other finishing works that will help highlight the result of your labor. It is important to remember that quality drying and processing of the putty are the keys to the successful completion of the entire project.
The quality of each stage is the key to the durability of your putty for OSB boards!
Equipment for Finishing
Finishing the putty for OSB boards is an important stage that allows you to achieve not only an aesthetic appearance but also to protect the coating from external influences. Once the putty has dried and been properly processed, you can move on to the finishing, which includes various methods and materials. The most common options include painting, wallpapering, or applying decorative coatings.
Before starting the finishing, it is important to carry out a few more preparatory works:
- Surface Assessment: If you notice any defects, such as cracks or unevenness, they should be eliminated. Additional sanding or filling defects with putty will help prepare a perfectly even base for the next stages.
- Priming: Using a primer before painting or wallpapering helps improve the adhesion of the coating to the putty. The primer strengthens the surface and can reduce the consumption of paint or wallpaper glue.
Here are a few popular finishing coatings that you can use:
| Type of Coating | Description | Advantages |
|---|---|---|
| Paint | Many varieties: matte, glossy, semi-matte—easy to apply with a brush or roller. | A wide selection of colors, easy cleaning, and updating in the future. |
| Wallpaper | Various designs and textures that hide small defects. | Add style to the interior and easily update the appearance of the room. |
| Decorative Plaster | Creates a textured surface, suitable for walls in any style. | Resistant to mechanical damage and easy to care for. |
Each of these finishing methods has its advantages, so it is important to choose the one that suits you best. It is also recommended to pay attention to the environmental friendliness of the selected materials, as this directly affects the health of the occupants of the room. Many Ukrainians choose materials that do not contain harmful chemicals, including eco-friendly paints and wallpapers.
The choice of finishing coating is not just about appearance. It is also about the comfort and safety of your home!
Do not forget about the technique for applying the finishing coating: follow the manufacturer’s instructions to achieve the best results. Use the recommended application methods and always work in a well-ventilated area. The quality of the finishing coatings will directly affect the durability and aesthetics of the putty for OSB boards, so it is worth approaching this stage with all seriousness.
Common Mistakes When Putties OSB Boards
When puttying OSB boards, various mistakes are often made that can lead to negative consequences, both aesthetic and functional. By familiarizing yourself with the typical problems that may arise during the puttying process, you can avoid them and ensure a quality result for your work. Here are some of the most common mistakes to keep in mind:
- Insufficient Surface Preparation. Many ignore degreasing and cleaning the OSB board before applying putty. This can lead to poor adhesion of the material, which, in turn, will lead to cracks and peeling of the putty over time.
- Incorrect Mixing of Putty. If you do not follow the manufacturer’s recommendations regarding proportions, there may be a problem with consistency, and the putty will not be able to be applied evenly. Make sure that the putty for OSB boards is mixed correctly and has no lumps.
- Applying Thick Layers. In an attempt to speed up the process, craftsmen may apply a thick layer of putty. This threatens cracks during drying. It is better to apply several thin layers, which will ensure even drying and reduce the risk of defects.
- Violating Drying Time. Allowing the putty to dry completely is a necessity before applying the next layer. Ignoring this rule can lead to the combination of wet and dry putty, which will not provide adequate strength.
In addition to these mistakes, you may also encounter sanding problems. Incorrect Sanding can lead to the appearance of new defects that will need to be eliminated again. It is recommended to use different types of sandpaper, starting from coarse to fine. This will help achieve the perfectly smooth surface necessary for finishing.
Always remember: attention at all stages of puttying is the key to a quality and durable result!
Thus, avoiding common mistakes when puttying OSB boards will allow you to create a reliable and aesthetic coating that will last for many years. It is important to pay attention to all details and follow the recommended techniques to achieve the best result.