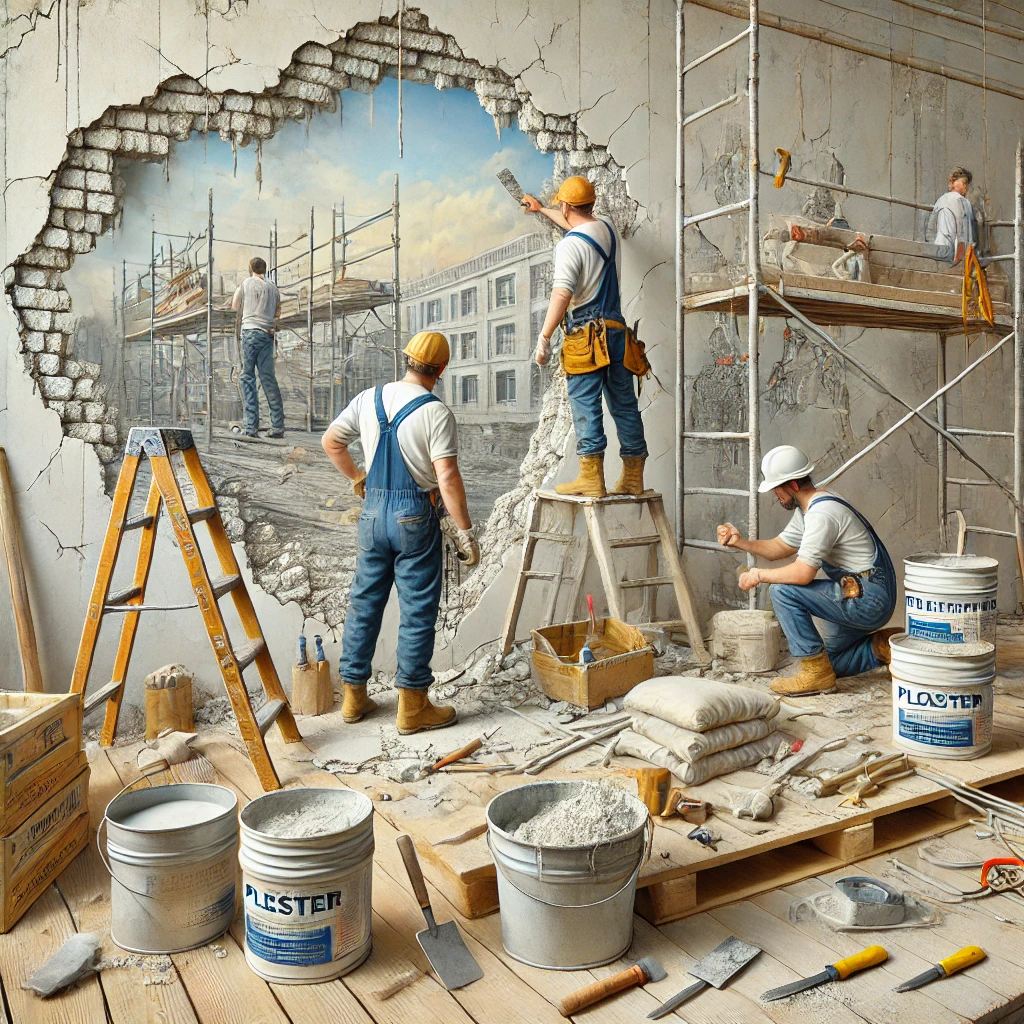
Peeling of plaster: a complete breakdown of the problem
Peeling of plaster is not just a cosmetic defect, but a signal of potential structural problems in the building. Delayed diagnosis and negligence during repair work can lead to serious consequences: from the appearance of cracks and mold to damage to load-bearing structures. Below we will discuss what exactly peeling is, why it occurs, how to detect, prevent, and eliminate it.
1. What is peeling of plaster?
Basic concepts and symptoms
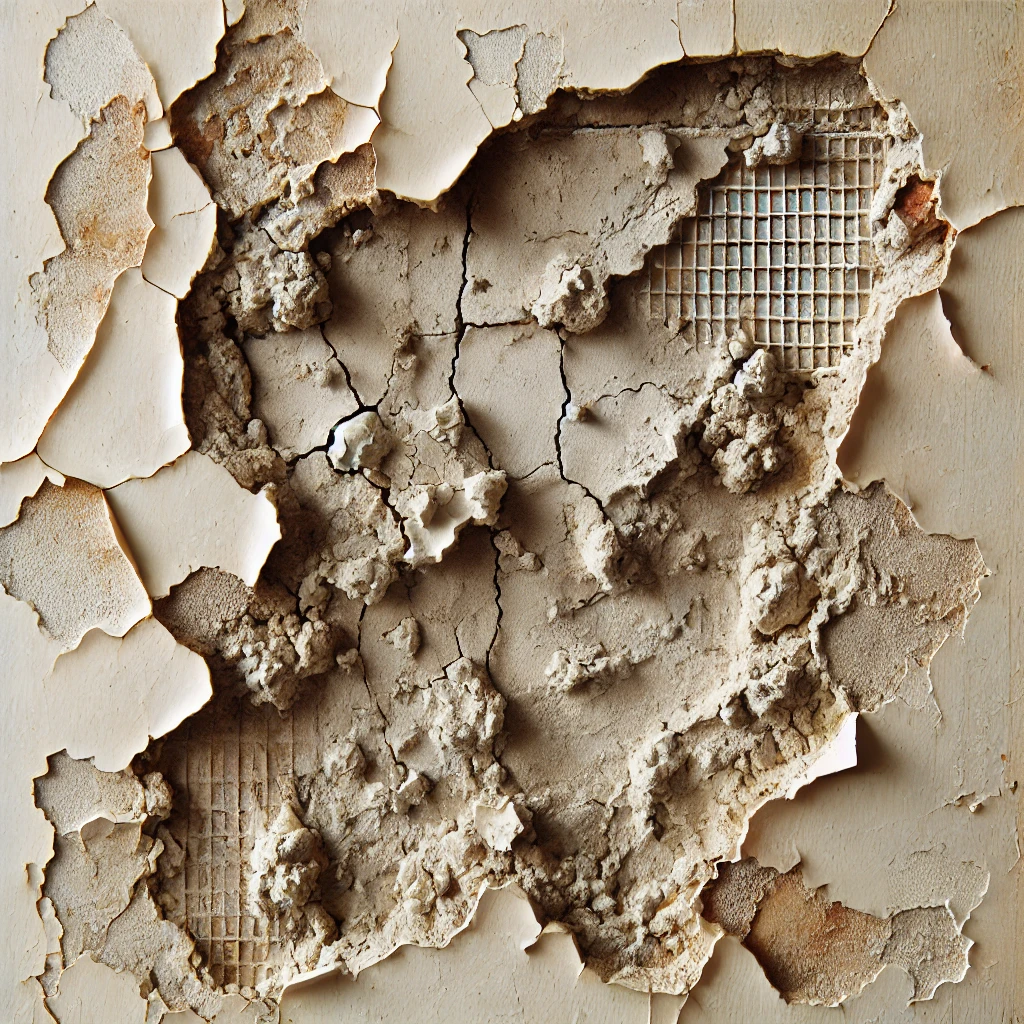
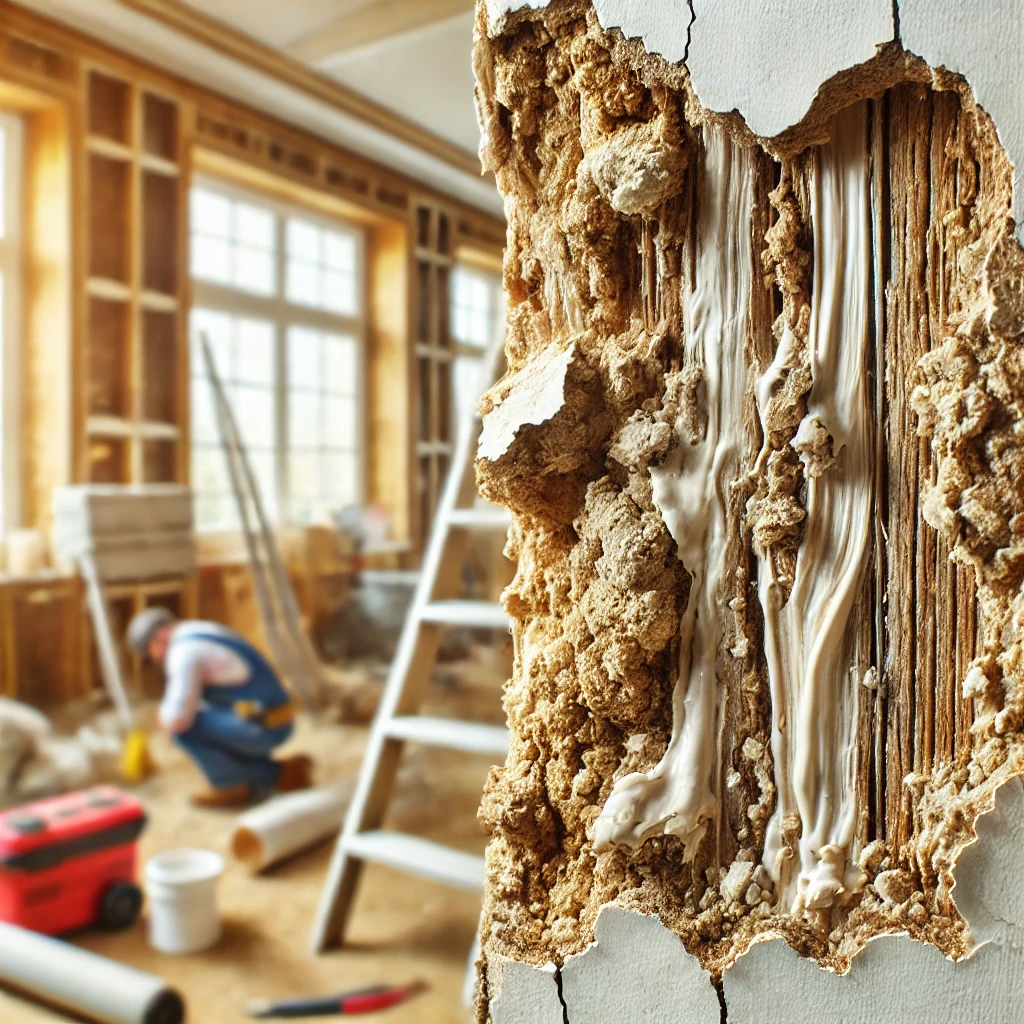
Peeling is the process in which the layer of plaster applied to the wall begins to separate from the underlying material (concrete, brick, or other base). Characteristic signs include:
- Cracks and delamination: the formation of linear or irregular cracks on the surface.
- Bubbles: the appearance of air pockets or bubbles, which may indicate moisture accumulation or improper application.
- Detachment of fragments: local areas where the plaster is pulling away from the wall, creating unevenness and a weakened surface.
These symptoms can appear either immediately after the application of the mixture or after some period of use, when external or internal factors begin to affect the material.
2. Main causes of plaster peeling
2.1 Moisture and improper ventilation
- Excessive humidity: a high level of moisture in the room or under the building causes saturation of the plaster mixture with water, reducing its adhesive properties.
- Improper ventilation: lack of or insufficient air circulation contributes to moisture accumulation, creating favorable conditions for the development of fungi and mold, and also affects the adhesion of materials.
2.2 Temperature fluctuations
- Rapid temperature changes: sudden temperature shifts cause expansion and contraction of materials, which can lead to microcracks and ultimately to peeling.
- Freezing: applying the mixture at low temperatures can lead to degradation of components, reducing its strength and weather resistance.
2.3 Improper surface preparation
- Insufficient surface cleaning: dust, old paint, or contaminants can act as a barrier to adhesion.
- Unevenness and defects of the base: lack of leveling and removal of defects in the underlying material creates uneven application of the mixture.
2.4 Use of low-quality materials and application technology errors
- Low-quality mixtures: cheap or unsuitable materials for operating conditions are more susceptible to environmental influences.
- Poor application technology: incorrect use of tools, incorrect layer thickness, or insufficient mixing of components can lead to uneven distribution of the mixture.
3. Consequences of peeling for the building
3.1 Aesthetic problems
- Unsatisfactory appearance of walls: unevenness, cracks, and peeled areas create a negative impression of the repair.
- Decrease in property value: damaged walls can reduce the market value of residential or commercial premises.
3.2 Structural damage
- Damage to the wall base: systematic peeling can lead to the destruction of the underlying material, threatening the integrity of the structure.
- Risk of mold and mildew development: moisture accumulation under the plaster promotes the appearance of biological agents that can affect the health of residents and increase costs for further repairs.
4. Typical mistakes when applying plaster
| Error | Description | Consequences |
|---|---|---|
| Improper surface preparation | Ignoring cleaning, degreasing, and leveling of the base. | Reduced adhesion, formation of cracks, and peeling. |
| Use of low-quality materials | Using cheap or unsuitable mixtures for operating conditions. | Rapid wear of the layer, reduced durability. |
| Incorrect application technology | Uneven distribution of the mixture, inappropriate layer thickness, lack of thorough mixing. | Uneven drying, formation of voids and defects. |
| Failure to adhere to technology under weather conditions | Applying the mixture under unfavorable temperature or humidity conditions. | Worsening adhesion, appearance of cracks, and formation of bubbles. |
5. Choosing the right plaster mixture
When choosing a mixture, it is important to consider:
- Type of base: cement mixtures are suitable for concrete or brick walls, while gypsum or cement-polymer compositions are often used for interior work.
- Operating conditions: for humid rooms (kitchens, bathrooms), water-resistant compositions with special additives should be chosen.
- Climate features of the region: in regions with high humidity or significant temperature fluctuations, mixtures specifically designed for such conditions are needed.
6. Methods for detecting peeling: how to diagnose the problem in time?
6.1 Visual inspection
- Regular checks: inspect walls for cracks, bubbles, or unevenness. Pay attention to areas with signs of moisture or mold.
- Documentation: document damage locations with photographs for further analysis and monitoring of the repair process.
6.2 Physical inspection methods
- Impact test: lightly tapping on the plaster can help detect voids – a hollow or altered sound will indicate insufficient adhesion.
- Moisture measurement: using a moisture meter allows you to determine the moisture level in the walls, helping to identify potential problem areas.
6.3 Modern technologies
- Infrared thermography: allows for the detection of hidden defects and moisture accumulation that is not visible to the naked eye.
- Acoustic analysis: specialized devices detect changes in material density, indicating the presence of voids.
7. Prevention of peeling: a comprehensive approach
7.1 Surface preparation
- Cleaning and degreasing: remove dust, old paint, crust, and contaminants.
- Leveling the base: eliminate unevenness, cracks, and other defects before applying a new layer.
7.2 Preparation of materials
- Use of manufacturer-recommended mixtures: follow instructions for mixing components and their application timelines.
- Fresh materials: use materials that have not exceeded their shelf life and pay attention to their quality.
7.3 Adhering to application technology
- Correct layer thickness: do not allow too thin or, conversely, too thick a layer, as this can negatively affect adhesion.
- Optimal working conditions: avoid applying plaster during rain, high humidity, or at low temperatures.
7.4 Ensuring proper ventilation
- Regulating air exchange: ensure adequate ventilation in rooms to avoid moisture accumulation behind the plaster.
- Using dehumidifiers: in humid conditions, electric dehumidifiers can help reduce the risk of mold development.
8. Repairing peeling: step-by-step instructions
If the problem of peeling has already occurred, follow these repair steps:
- Assessing the extent of damage
- Carefully inspect all damaged areas, determine the degree of peeling and the size of problem zones.
- Surface cleaning
- Remove all peeled plaster using a spatula or special tools. This will help create a uniform base for the new layer.
- Pre-treatment
- Apply a primer or adhesion intermediary layer to ensure better bonding of the new mixture with the base.
- Applying a new layer of plaster
- Use a quality mixture, thoroughly mixed according to the manufacturer’s instructions.
- Distribute the mixture evenly using a spatula, adhering to the recommended layer thickness.
- Drying and finishing
- Allow the new layer to dry under appropriate conditions (avoiding direct sunlight and strong winds).
- If necessary, perform final sanding or painting to achieve the desired aesthetic appearance.
9. Modern technologies and innovative materials
9.1 Nanotechnology and polymer additives
- Nano-particles: their addition to the mixture enhances adhesive properties and moisture resistance.
- Polymer components: provide elasticity, increased strength of the layer, and reduce the risk of crack formation.
9.2 Specialized surface treatments
- Adhesion enhancers and primers: provide better bonding between the base and the new layer of plaster.
- Hydrophobic agents: protect the surface from moisture penetration, which is especially relevant for external walls.
9.3 Use of digital technologies
- Infrared diagnostics: allows for the detection of hidden defects and regular monitoring of wall conditions.
- Specialized applicators: automated application of plaster, ensuring uniformity of the layer and reducing human error.
10. Expert advice: how to prevent peeling
- Use only certified and tested materials.
- Follow the manufacturer’s technological recommendations at every stage of work.
- Regularly conduct visual and instrumental monitoring of wall conditions.
- Plan work considering weather conditions and temperature regimes.
- If necessary, consult specialists to choose optimal materials and technologies.
11. When to consult specialists?
Despite the possibility of performing repair work on your own, there are situations when professional help is necessary:
- Significant damage: if peeling covers a large area of the wall or several surfaces.
- Structural defects: suspicion of damage to load-bearing structures or the appearance of cracks in critical areas.
- Appearance of mold and mildew: with constant moisture accumulation and spread of biological agents.
- Complex operating conditions: when repairing historical buildings or structures with special requirements for materials and technologies.
Conclusion
Preventing plaster peeling is a comprehensive set of measures that includes careful preparation of the base, use of quality materials, precise adherence to application technology, and regular monitoring of wall conditions. The use of modern technologies and innovative additives helps significantly increase the strength and durability of finishing materials. Remember that timely detection and elimination of minor defects can save significant costs and prevent serious damage in the future.
Whether you are planning a DIY repair or consulting professionals, following the recommendations provided will help maintain both the aesthetic appearance and structural integrity of your home. Always remember: it is better to prevent a problem than to spend time and money fixing it later.