To install drywall, you need to prepare a number of consumables and special equipment that will significantly simplify this process. The reliability and quality of your work directly depend on the tools and materials you choose.
Here is a list of the main elements you will need for installation:
| Equipment | Purpose |
|---|---|
| Hammer drill | For creating holes in concrete or brick walls. |
| Drill | For screwing in screws and finishing marking. |
| Metal scissors | For cutting metal profiles. |
| Measuring tape | For precise measurements. |
| Drywall key | For securing sheets. This is a convenient tool that also prevents damage to the cardboard. |
Materials: Choosing materials is also an important step. You will need:
- Drywall sheets – they come in three types: standard, moisture-resistant, and fire-resistant.
- Adhesive – it should be chosen depending on the type of substrate. Some adhesives are specially designed for drywall, providing super strong adhesion.
- Screws – it is important to choose screws that have a special coating to prevent corrosion.
- Sealing materials – which can be used to fill gaps between sheets.
Also, do not forget about protective gear – goggles and a mask to protect yourself from dust and debris while working.
Now that you know what equipment and materials you will need, you can confidently move on to the next stages of drywall installation. It is also important to remember that the right choice of tools and materials determines not only the ease of performing the work but also the durability of the finished structure. 🛠️✨
Choosing Adhesive for Drywall
One of the most important aspects of drywall installation is the correct choice of adhesive. There are various types of adhesive materials available on the market, each with its own features and advantages. To achieve maximum reliability when securing drywall, several key factors need to be considered.
First, pay attention to the type of adhesive. In Ukraine, cement-based, gypsum-based, or polyurethane-based adhesive mixtures are popular. Cement-based adhesive provides good bonding strength, especially on concrete and brick surfaces. 🧱💪 Gypsum-based adhesive is easy to apply and has a short drying time, making it convenient for quick installation. Polyurethane adhesives have high elasticity and are suitable for working in conditions of temperature and humidity changes.
The next aspect is the compatibility of the adhesive with the drywall you have chosen. It is recommended to choose products specifically designed for use with drywall. Such adhesives typically have an optimal formula to ensure bonding strength and prevent cracking after drying.
Additionally, pay attention to the operating conditions. If you plan to use drywall in humid areas (bathrooms, apartments with high humidity), choose moisture-resistant adhesives that are guaranteed to withstand moisture exposure.
It is also important to test the adhesives on a small area of the wall before starting the main installation. This will help assess adhesion, drying speed, and ease of application. Remember that there is also the option to buy ready-made adhesive mixtures in convenient packages that contain pre-prepared material.
Here are some popular adhesive options used for drywall installation:
| Type of Adhesive | Advantages |
|---|---|
| Cement adhesive | High strength, well-suited for heavy surfaces. |
| Gypsum adhesive | Quick drying, ease of use. |
| Polyurethane adhesive | Flexibility and resistance to changes in humidity. |
It is very important to avoid cheap or unknown adhesive brands, as this can lead to bonding problems in the future. Investing in good adhesive is an investment in the stability and quality of your renovation. ✨🏡
Preparing the Wall Surface
Before starting the drywall installation, it is important to thoroughly prepare the wall surface. This stage is crucial for ensuring the strength and durability of the structure. Surface preparation helps avoid many problems that may arise during operation. 👷♂️✅
Before you begin, make sure the wall is clean and free of any foreign materials. This includes:
- Cleaning dust and dirt. Use a damp cloth or sponge for cleaning. If the wall is covered with paint, old wallpaper, or plaster, it needs to be removed.
- Checking for cracks and defects. All defects should be filled with putty or another material to avoid further problems. Don’t forget sanding if necessary.
- Leveling the surface. Use a level for this. If you find that the wall is uneven, possible solutions include plastering or using self-leveling mixtures.
In case your wall is made of porous material, such as aerated concrete or foam blocks, it is necessary to treat it with a primer. This will significantly improve the adhesive’s grip and help avoid moisture absorption from the adhesive by the wall. Priming makes the surface less porous and ensures even adhesive application.
It is also worth paying attention to the environmental conditions. The temperature in the room during drywall installation should be between +10 to +30 degrees Celsius. Too cold or hot conditions can negatively affect the adhesive’s bonding and the characteristics of the drywall.
Remember that quality surface preparation is the key to success in the entire drywall installation process!
It is important to note that when using moisture-resistant drywall in areas with high humidity, such as bathrooms or kitchens, it is additionally necessary to consider the specifics of the materials and processing technology. The base should also be moisture-resistant, so treating it with special mixtures or paints is recommended for additional protection. 🚿🏠
Thus, thorough wall preparation is an integral part of successful drywall installation. It will not only ensure a quality result but also extend the lifespan of your structure, protecting it from all possible problems that may arise from poorly executed preparatory work. Always remember the importance of this stage and do not neglect it! 🌟
Adhesive Application Technology
The technology of adhesive application is one of the key stages in drywall installation, directly affecting the reliability and durability of the structure. Proper application allows achieving maximum bonding strength between the drywall and the wall, avoiding cracks, and ensuring an aesthetic appearance of the finish. 👌⚒️
Before you start applying the adhesive, make sure the prepared wall surface is completely dry and clean. Residues of dust, grease, or old coatings can interfere with adhesion. Enhance this procedure by checking the temperature. The optimal temperature range for adhesive application is +10 to +30 degrees Celsius, as extreme temperatures can negatively affect the drying process. 🌡️
Next, you need to follow a few simple but important steps when applying the adhesive:
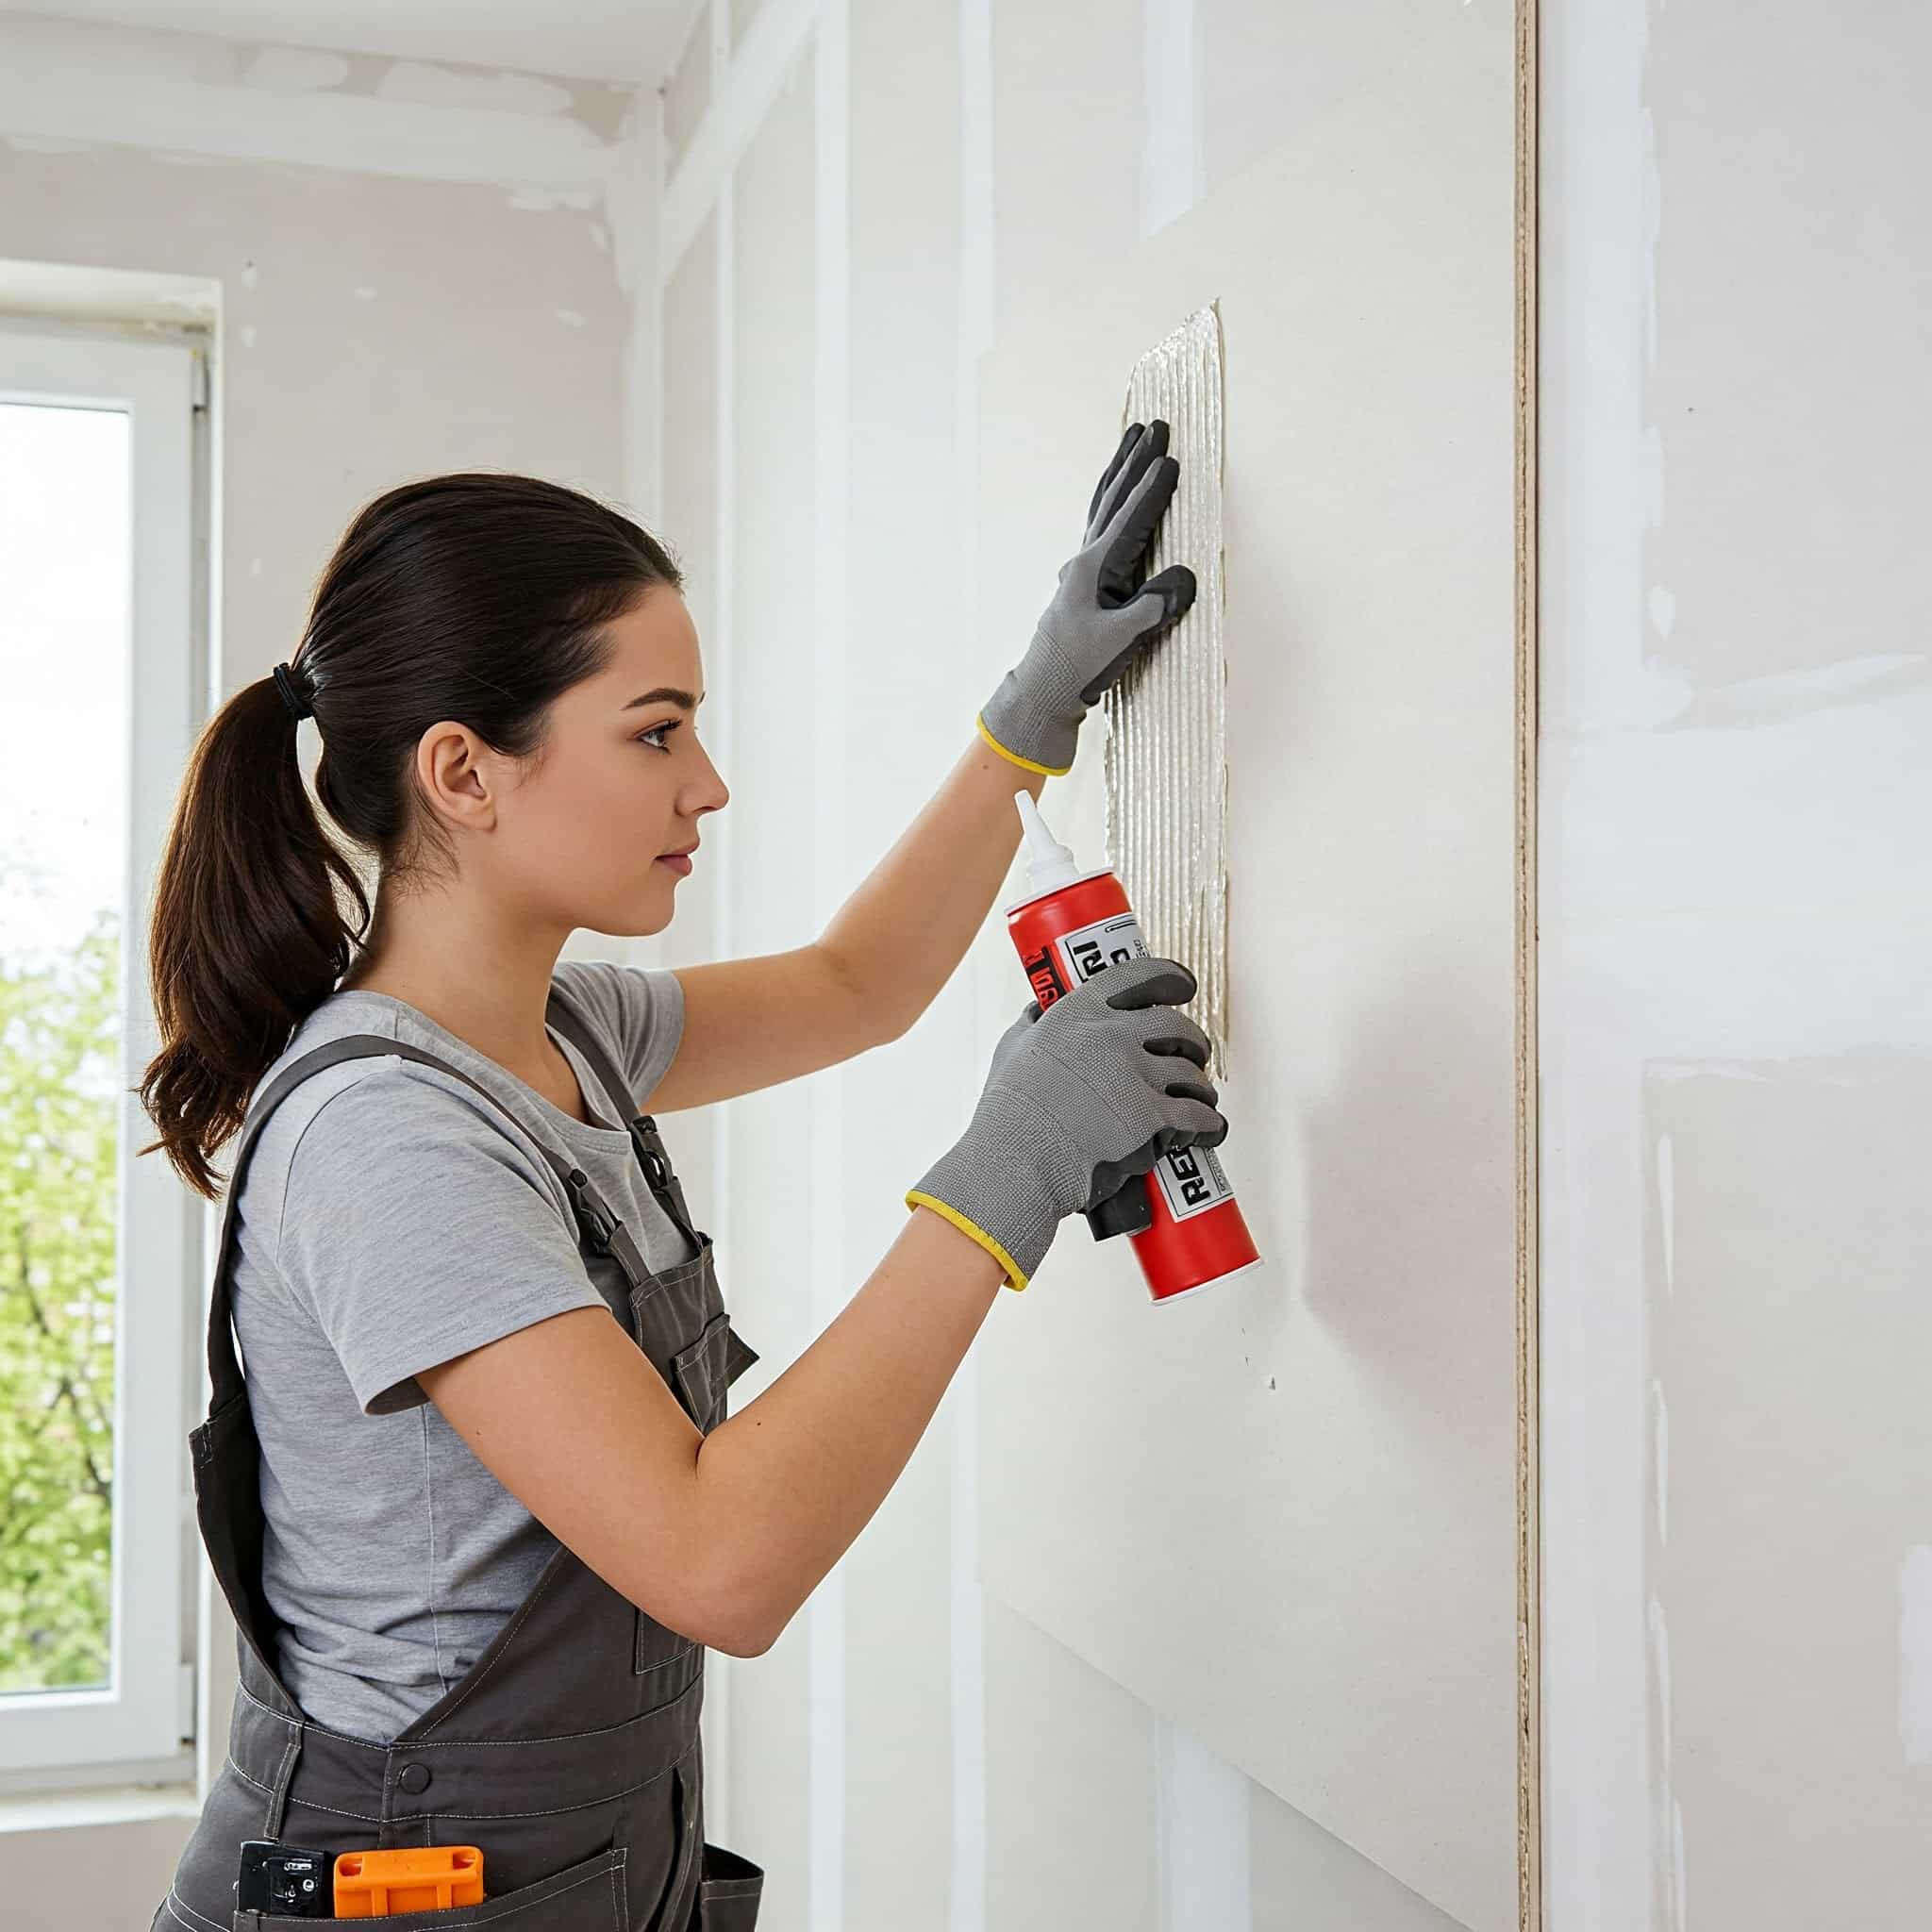
- Choosing the application method: Adhesive can be applied in several ways: using a spatula, notched trowel, or even a glue gun. The choice of method depends on the viscosity of the adhesive and your personal preferences.
- Applying the adhesive: Apply the adhesive to the wall in strips 10-15 cm wide, leaving 5-10 cm between them. This method allows the adhesive to distribute evenly and prevents the formation of air bubbles. 🌀
- Ensuring accuracy: Don’t forget to constantly check the horizontal and vertical alignment of the applied strips. It is important that they are positioned evenly to avoid misalignment during drywall installation.
After applying the adhesive to the wall, let it sit for a while to become slightly tacky (usually 5-10 minutes), but do not let the adhesive dry completely. Then you can proceed to install the drywall. It is recommended to apply the sheets horizontally to avoid unnecessary effort during installation. When installing, place the sheet on the adhesive, gently pressing to ensure maximum adhesion.
Tip: If you are using large drywall sheets, invite an assistant. This will help avoid problems with securing and the passage of time, as managing a large item during the overlay stage can be a challenging task. 👥
After securing the sheets, make sure that the adhesion between them and the wall is uniform. You can check this by gently tapping on the sheet – the sound should be quiet and muffled, indicating good contact.
Do not leave the adhesive exposed to air for too long. This can lead to it drying out. After completing the drywall installation, allow it to rest for at least 24 hours for the adhesive to fully dry before moving on to further finishing stages.
Applying adhesive is a science, while drywall installation is an art. Follow the technology, and you will achieve a unique result! 🎨🖌️
By following this technology, you can ensure reliable adhesion of the drywall to the base, which will serve as the foundation for your further renovation. Do not be afraid to experiment and learn from your own experience – exploration and practice will lead to success! ⚡✨
Rules for Installing Drywall
When installing drywall, adhering to the correct rules is a key factor for success. This not only prevents future problems but also ensures the aesthetic appearance of the finished structure. Let’s consider a few basic principles to follow during installation. 🏗️🌈
First of all, it is important to properly mark the wall to which the drywall will be attached. Use a level for vertical and horizontal marking to avoid misalignment. This will ensure the accuracy of the installation and the aesthetic appearance of the finish. 📝
The next step is to treat the edges of the sheets. Before installing the drywall, especially if you are working with large sheets, it may be helpful to bevel the edges of the sheet. This will allow for a more precise installation and prevent cracks at the joints. Don’t forget to protect the edges to avoid damage during processing.
When installing the sheets themselves, it is important to follow a certain order. Avoid installing the sheets in a staggered pattern – this can lead to structural instability. First, secure the sheets horizontally, with the flat sides against the wall. Using screws, evenly secure the sheet with spacers until it is fixed on the adhesive. For stronger adhesion, leave a distance of 10 cm between screws.
Tip: If you are working with moisture-resistant drywall, make sure the shape of the structure allows for avoiding water accumulation at the joints, as this can lead to increased moisture in the material itself.
After the sheets are installed, check their evenness. It is important that there are no gaps between the sheets. If any unevenness is found, use putty to close the joints. This will also prevent cracks from forming in the future. 🛠️
Remember that the drywall installation stage is not just a physical process, but also a science that requires precision and attention to detail! 🧠🔍
The final stage is to treat the edges of the sheets with adhesive or putty to ensure fastening and sealing. This will help avoid moisture penetration and improve the overall appearance. Don’t forget that when using special sheets, such as moisture-resistant or fire-resistant, it is also important to follow all manufacturer instructions on the packaging.
Thus, by following these simple but important rules, you can successfully install drywall, ensuring its long-term use and aesthetic appearance in your space. The most important thing is not to rush and take care of every detail, as the quality of work determines the final result. 🚀✨
Resolving Unevenness Issues
When it comes to drywall installation, one of the most common problems faced by craftsmen is wall unevenness. Uneven surfaces can lead to not only structural instability but also a deterioration in the appearance of the finish. Avoiding these problems will allow you to create a perfect foundation for further finishing. 🌟🛠️
Before starting drywall installation, it is important to assess how uneven your wall is. For this, use a level or chisel. If the surface has significant variations, there are several ways to address this issue:
- Puttying – This is one of the most common methods, which involves filling cracks and unevenness with putty. It is advisable to choose a quality putty suitable for your type of wall. After drying, the putty should be sanded well to achieve a perfect surface.
- Installing profiles – If the unevenness is significant, consider installing metal profiles to which the drywall will then be attached. This will allow leveling the surface even in the case of serious defects.
- Using self-leveling materials – There are special mixtures that allow you to make the surface even. They are applied to the wall and distribute themselves, filling in the unevenness.
Here is a table summarizing the most effective methods for resolving unevenness issues:
| Method | Description | Advantages |
|---|---|---|
| Puttying | Filling cracks and unevenness with putty | Ease and speed, availability of materials |
| Installing profiles | Fixing metal profiles for wall leveling | Suitable for serious unevenness, durability |
| Self-leveling materials | Using special mixtures for leveling | Automatic leveling, no extra effort |
If you choose puttying, try to use it in several stages. First, fill in the largest unevenness, and after drying, apply another layer to achieve an even surface. 🧱🖌️ Use a wide spatula to achieve the smoothest coating. Remember that it is better to spend a little more time leveling than to later correct obvious defects.
Do not forget that the third rule of renovation is “cover the walls, not the problems.” Quality leveling is the key to not only aesthetic appearance but also the durability of your drywall! 🔧✨
Do not hesitate to seek professional help if you have doubts about your abilities in this matter. A result that meets your expectations is worth investing in specialists if necessary. Remember that the main thing is to prepare your space in such a way that it opens up new possibilities for you! ⚡🏡
Common Mistakes in Drywall Installation
Drywall installation can be a challenging task, and during this process, craftsmen often encounter common mistakes that affect the final result. Let’s look at some of the most common mistakes that can occur during drywall installation and ways to avoid them. 🚧💡
First, the same mistake often made by beginners is insufficient surface preparation. Not everyone understands that providing drywall with a perfectly level base is critically important. If the wall has not been cleaned or primed, even the best adhesive will not provide a reliable connection. Always check for dust or remnants of old coatings on the wall. You may need to use a sander to prepare the surface.
Remember: quality preparation is the key to successful installation! 🎯🔍
Another common mistake is insufficient adhesive or improper application. Many people try to save material by applying less adhesive than necessary. This leads to weak adhesion and possible delamination of the drywall. When applying adhesive, it is important to follow the recommended guidelines to ensure even distribution. Do not skimp on adhesive until the last moment, as it may be too late afterward! 🆘🌀
Incorrect alignment of the sheets is also a frequent problem. When the sheets are not perfectly level or do not fit tightly against each other, it can affect the appearance and structural integrity. During installation, use a level and check that the sheets are properly adhered to the wall with an equal gap between them. Keep in mind that to achieve the best result, the sheets should be applied not only horizontally but also ensure that they do not tilt from one side to the other. 📏🔧
Additionally, do not ignore temperature and humidity issues in the room while working. High humidity or too low temperatures can negatively affect the quality of the adhesive. Optimal conditions for installation are temperatures between +10 to +30 degrees Celsius and humidity levels between 40-60%. High humidity can lead to moisture absorption by the material, which worsens adhesion.
| Error | Description | How to Avoid |
|---|---|---|
| Insufficient surface preparation | The wall is not cleaned and not primed. | Conduct thorough cleaning and prime the surface. |
| Incorrect adhesive application | Insufficient adhesive or uneven application. | Follow recommended application norms and use a notched trowel. |
| Incorrect alignment of sheets | The sheets may be misaligned or not fit tightly. | Use a level to check vertical and horizontal alignment. |
| Ignoring temperature and humidity | Non-optimal conditions lead to bonding defects. | Constantly monitor the temperature and humidity in the room. |
Always remember that small details make a big difference! 🛠️🌟
It is important to understand that each stage of installation can be critical. Mistakes at any of them can lead to problems in the future. Pay attention to every aspect, follow the instructions, and strive to complete the work as thoroughly as possible so that your structure will serve you well for a long time! 🏡✨