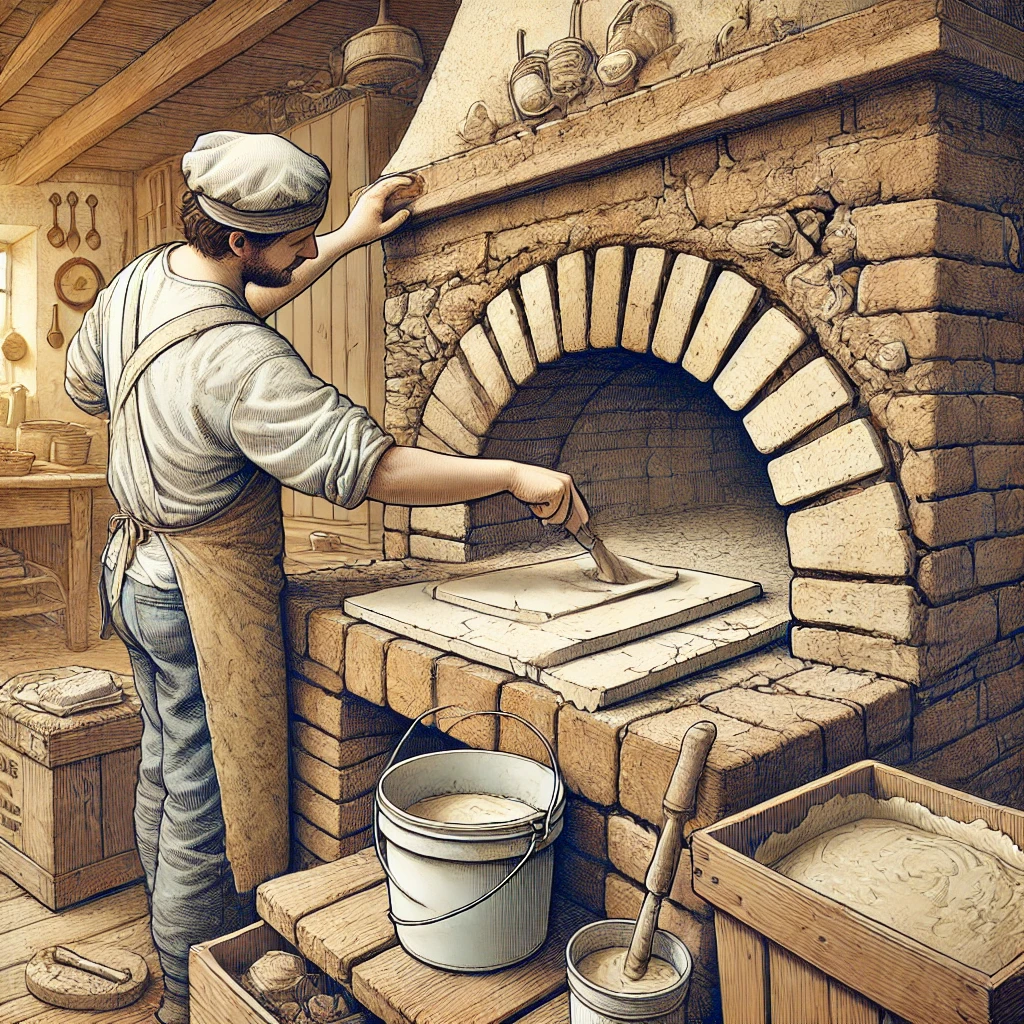
Plastering a stove is not only a way to give it an aesthetic appearance but also an important stage in ensuring its durability and efficiency. Quality plastering helps not only to prevent the appearance of cracks but also reduces heat loss, which increases the overall energy efficiency of the stove. Improper application of plaster can lead to cracks appearing within a few years of operation, negatively affecting safety and usability. How can this be avoided? Follow the recommendations below to achieve the best results.
1. Surface Preparation
Before starting plastering, it is necessary to thoroughly prepare the surface of the stove, as the quality of adhesion of the material and the durability of the coating depend on this stage.
- Cleaning: Remove dust, grease, soot, and other contaminants, as they reduce the adhesion of the mixture. Use a stiff brush, soapy solution, or special cleaning agents.
- Removing old coating: If there are old layers of plaster or paint on the stove, they must be completely removed using a spatula, sanding brush, or sandblasting method.
- Treating cracks: Widen small cracks and deepen them so that the new plaster penetrates well inside and holds firmly.
- Priming: To improve the adhesion of the plaster to the base, it is recommended to treat the surface with a special stove primer or a weak solution of clay and sand.
- Moistening: Before applying the first layer of plaster, slightly moisten the brick surface to avoid rapid drying of the mixture and improve its adhesion.
2. Using Quality Materials
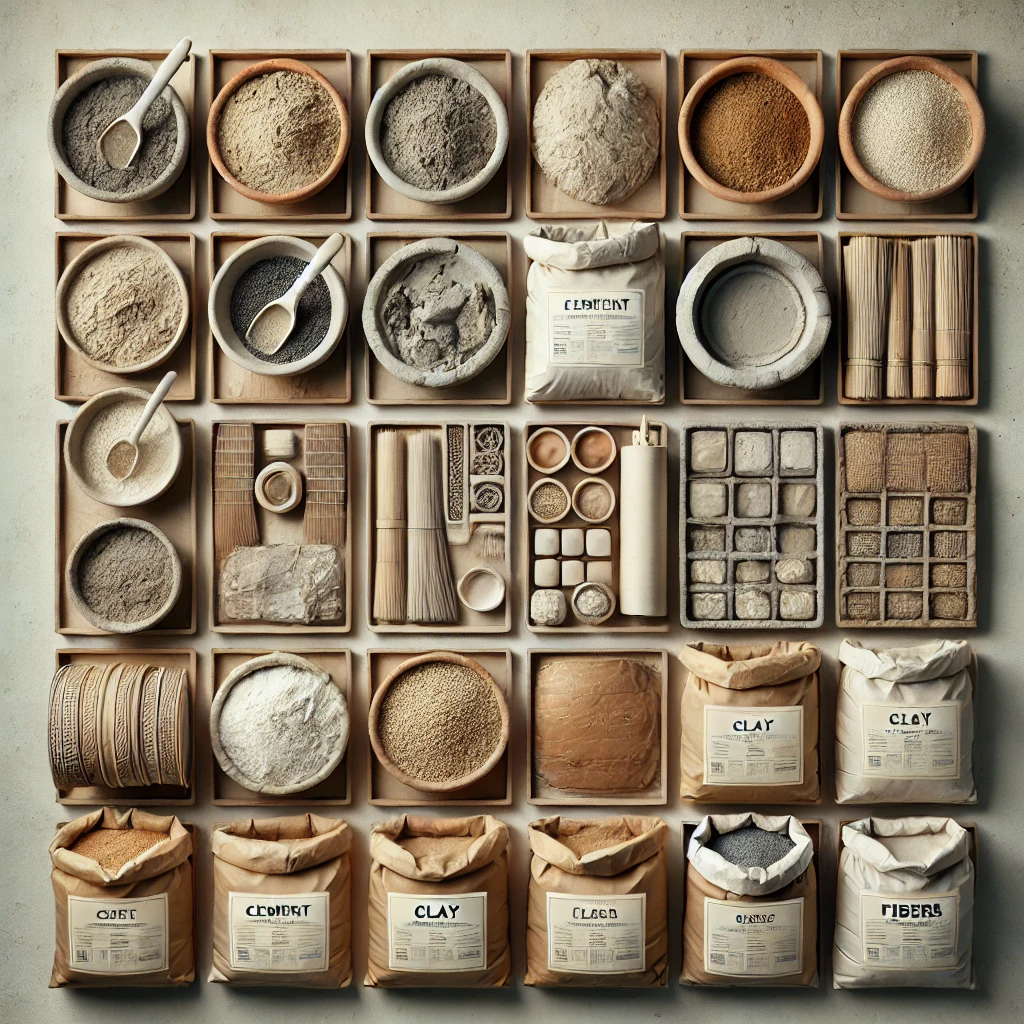
The correct choice of materials directly affects the durability and stability of the stove plaster. To prevent cracks and peeling, several important aspects must be considered.
- Main components:
- Clay-sand mixture – the best option for a stove, as it is elastic, heat-resistant, and withstands temperature fluctuations well. Adding fine salt or chalk improves strength.
- Cement-sand mixture – used less frequently, as it is less elastic and more prone to cracking when heated.
- Reinforcing additives:
- Asbestos or hemp fiber increases strength and prevents the formation of microcracks.
- Gypsum in small amounts can improve the plasticity of the mixture.
- Quality of components:
- Use sieved sand without clay and organic residues.
- The clay should be clean, without large inclusions.
- Lime should be slaked in advance to prevent it from causing expansion of the plaster after application.
- Adhering to proportions:
- The optimal mixture for clay plaster: 1 part clay, 2–3 parts sand, 10% fibers.
- For cement plaster: 1 part cement, 3 parts sand, 10% lime or clay.
By choosing the right materials and adhering to proportions, you can significantly increase the strength and service life of the stove plaster.
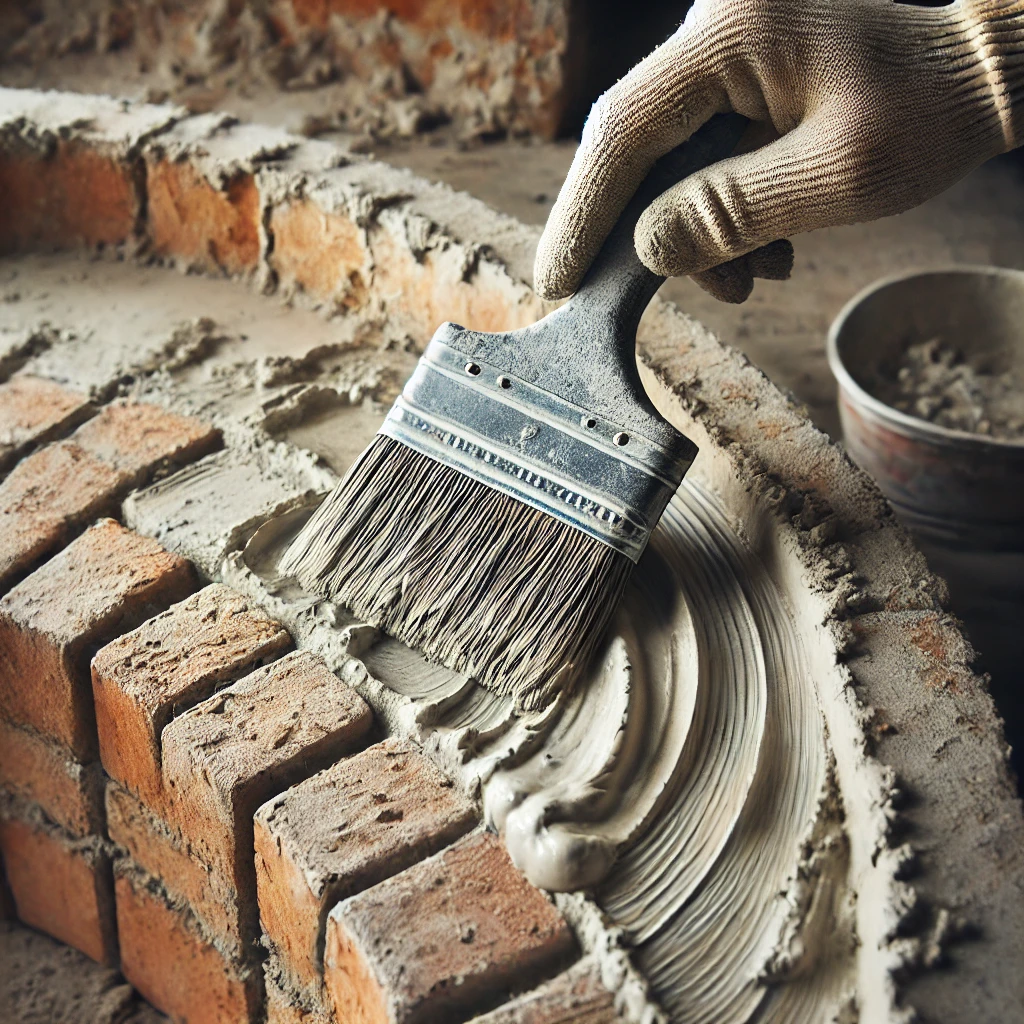
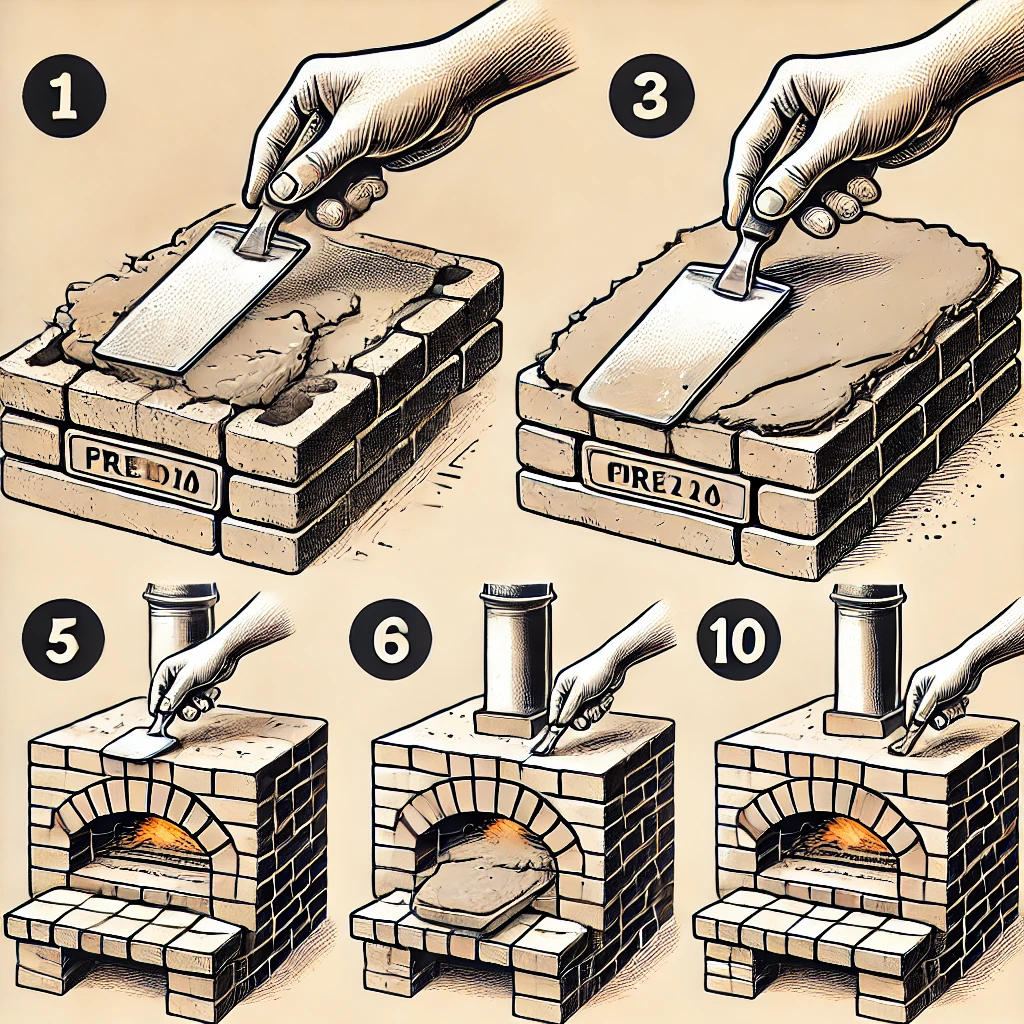
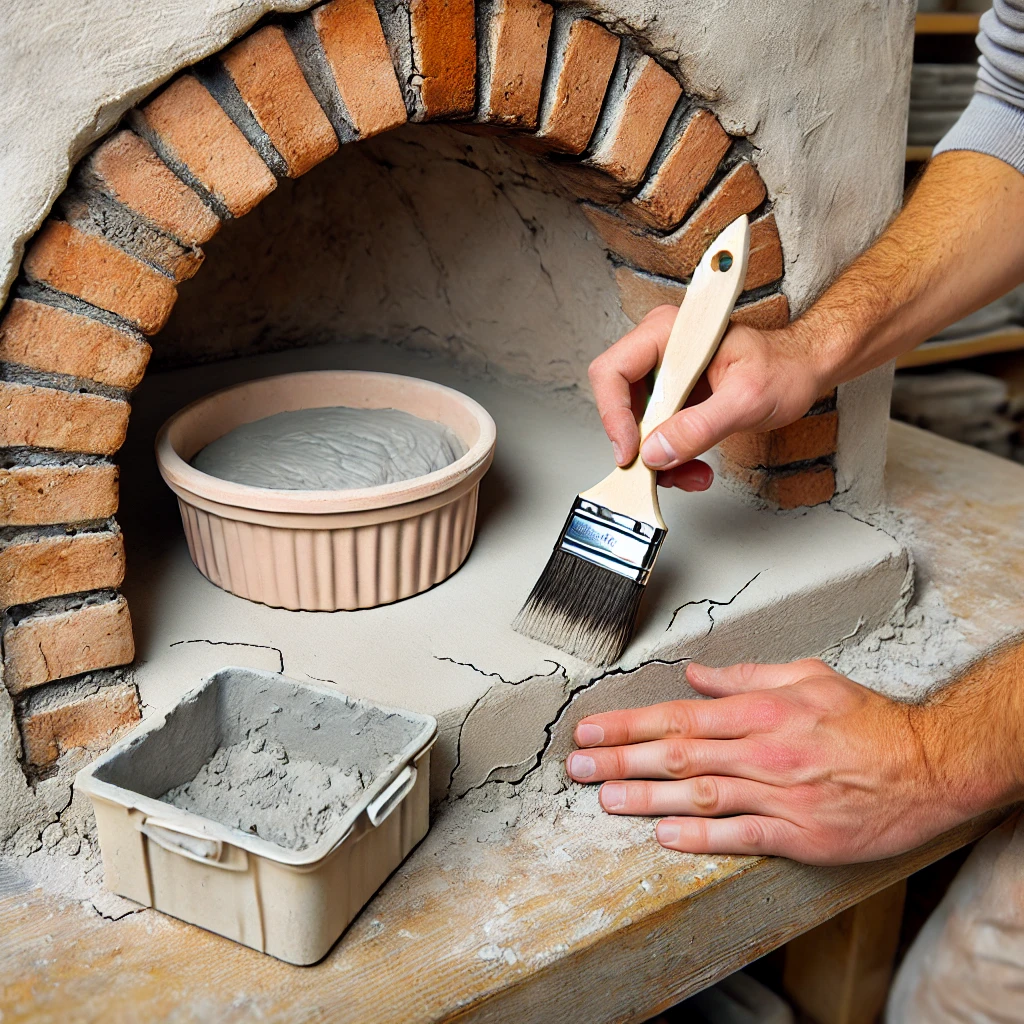
3. Applying the Right Layer of Plaster
To ensure an even coating that will not crack, certain plastering rules must be followed.
- Creating a base layer:
- The first layer should be thin (2-3 mm) to adhere well to the surface.
- Use a trowel or float for even distribution of the mixture.
- Let it dry slightly, but do not over-dry.
- Sequential application of layers:
- Subsequent layers are applied after partial drying of the previous one.
- The second layer should be up to 5 mm thick to avoid large cracks.
- The total thickness of the plaster should not exceed 10 mm.
- Application technique:
- Use circular or cross movements to evenly distribute the mixture.
- Avoid overly thick layers, as they may dry unevenly and peel off.
- Finishing treatment:
- When the last layer dries, it can be smoothed with a damp sponge or float to achieve an even texture.
- To increase strength, the surface can be additionally covered with a special heat-resistant coating.
Following these rules will help avoid cracks and ensure the durability of the plaster layer.
4. Using Reinforcing Mesh

Reinforcing plaster is one of the most effective methods to prevent the appearance of cracks and peeling. The use of mesh allows for even distribution of mechanical loads, increasing the durability of the coating.
Choosing the mesh material:
- Metal mesh – suitable for high-temperature areas, as it withstands significant heating.
- Fiberglass mesh – lightweight and flexible, well-suited for internal reinforcement, but a heat-resistant option should be used.
Application process:
- Securing the mesh: Cut the mesh to the size of the stove surface and attach it to the fresh base layer of plaster. Press it in so that it fits snugly against the surface.
- Fixation: If necessary, use special fasteners or adhesive base for the reinforcing mesh.
- Applying the next layer: After the first layer dries, apply a second layer of plaster 3-5 mm thick to completely cover the mesh and provide an even surface.
- Smoothing: Use a float or trowel for even distribution of the material.
Proper reinforcement significantly reduces the risk of crack formation and increases the service life of the plaster coating.
5. Controlling Drying
Most often, cracks appear due to improper drying process, so adhering to this stage is crucial for the durability of the plaster layer.
- Gradual drying: Do not subject the stove to sudden heating immediately after plastering. Sudden heating can lead to uneven drying and cracking of the material.
- Avoiding over-drying and drafts: Too rapid drying, especially under strong wind or sunlight, can cause microcracks. To avoid this, maintain a stable temperature and humidity in the room.
- Moistening the surface: For even drying, slightly moisten the surface during the first few days. This will help the plaster stabilize and avoid premature cracking.
- Optimal drying times: Complete drying of the plaster can take 2-3 weeks, depending on the thickness of the layers and conditions in the room. During this period, do not subject the stove to high heating.
- Temperature control: The optimal temperature for drying plaster is 15-25°C. Avoid significant temperature fluctuations that can provoke crack formation.
Adhering to these recommendations will ensure even drying of the plaster and its durability.
6. Avoiding Sudden Temperature Changes
Sudden temperature fluctuations are one of the main causes of cracks in stove plaster. To minimize this risk, follow these recommendations:
- Gradual heating:
- Before the first use of the stove, heat it gradually. Start with a minimal fire and gradually increase the temperature over several hours.
- During the first few firings, avoid intense heating to give the plaster time to adapt to thermal expansion.
- Controlling temperature fluctuations:
- Do not fire the stove to maximum temperature immediately after a period of inactivity.
- Maintain a moderate level of humidity in the room, as dry air contributes to the formation of microcracks.
- Additional protection for plaster:
- Use special heat-resistant paints or treatments that protect the surface from overheating and temperature fluctuations.
- If necessary, a thin layer of lime solution can be applied to provide additional heat resistance.
By following these recommendations, you will reduce the risk of crack formation and extend the service life of the plaster layer of the stove.
7. Regular Maintenance
Even the best plaster requires care:
- Inspect the stove for small cracks at least once a season.
- If microcracks appear, fill them with clay or cement mixture.
- Do not allow excessive soot accumulation, which can affect the condition of the plaster.
Conclusion
Plastering a stove is a complex but necessary process that requires careful attention and adherence to technological requirements. Using quality materials, proper application techniques, and controlling drying allows for a durable and stable coating. Regular maintenance of the plaster and avoiding sudden temperature changes will help prevent crack formation and maintain the stove’s attractive appearance for many years. By following these tips, you will not only extend the service life of the stove but also improve its efficiency, providing comfort and warmth in your home.