Decorative plaster is a wonderful way to give your walls a special character, creating an atmosphere of coziness and style. In this article, we will cover all the stages of work, discuss materials and tools, and also share secrets on how to make decorative plaster by yourself. Below are detailed steps and recommendations that will help you achieve a professional result even without involving specialists.
Useful videos about decorative plaster
What is decorative plaster?
Decorative plaster is a coating that not only protects the wall but also serves a decorative function. It allows you to create various textures, patterns, and effects (for example, “aging,” “velvet,” or “rock”) that add individuality to the interior. If you are wondering “how to make decorative plaster”, you are on the right path to transforming plain walls into a true work of art.
Main types of decorative plaster
Before starting work, it is important to determine the type of decorative coating:
- Venetian plaster: creates the effect of a marble surface with a smooth, glossy texture.
- Textured plaster: allows for various relief effects using matrices or special techniques.
- Structural plaster: allows you to reproduce natural elements (stone, wood) using stamps and painting tools.
Each of these types has its own features, and the choice depends on your preferences, the condition of the base, and the desired final effect.
Materials and tools
Main materials:
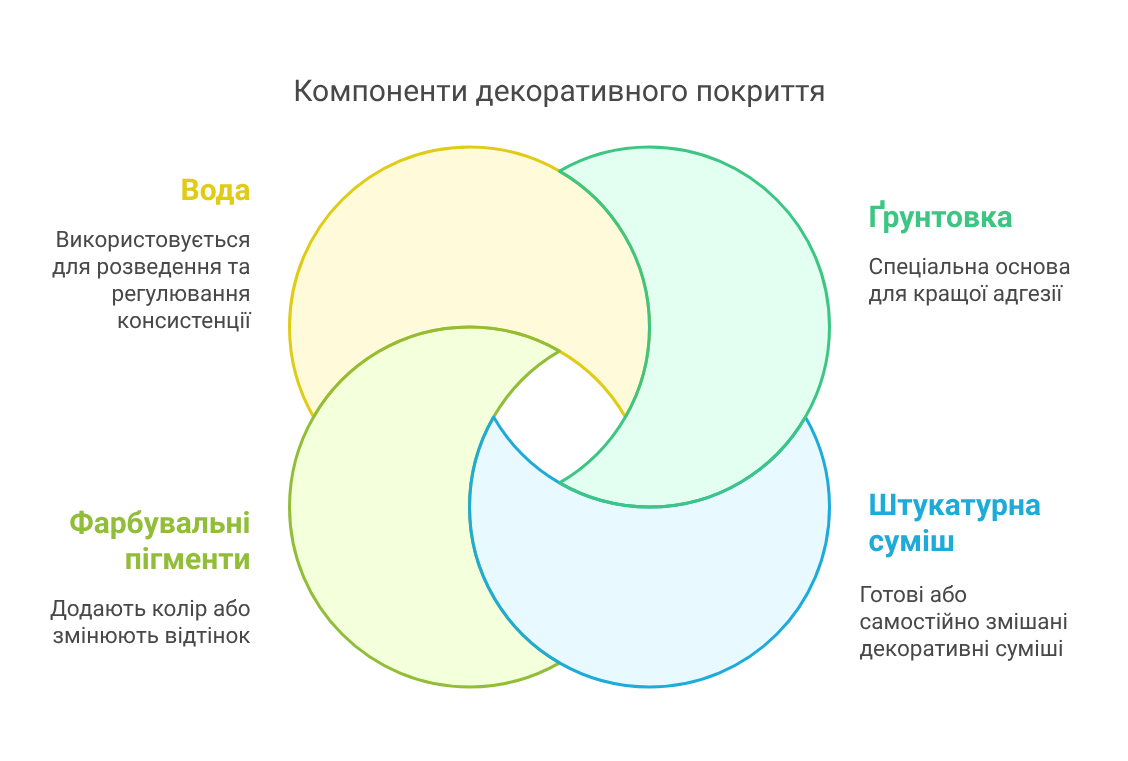
- Base: special primer or acrylic emulsion to ensure better adhesion.
- Plaster mixture: you can use ready-made decorative mixtures or make it yourself (for example, based on cement, lime, and sand).
- Color pigments: to add color or change the shade.
- Water: for diluting the mixture and adjusting the consistency.
Tools:
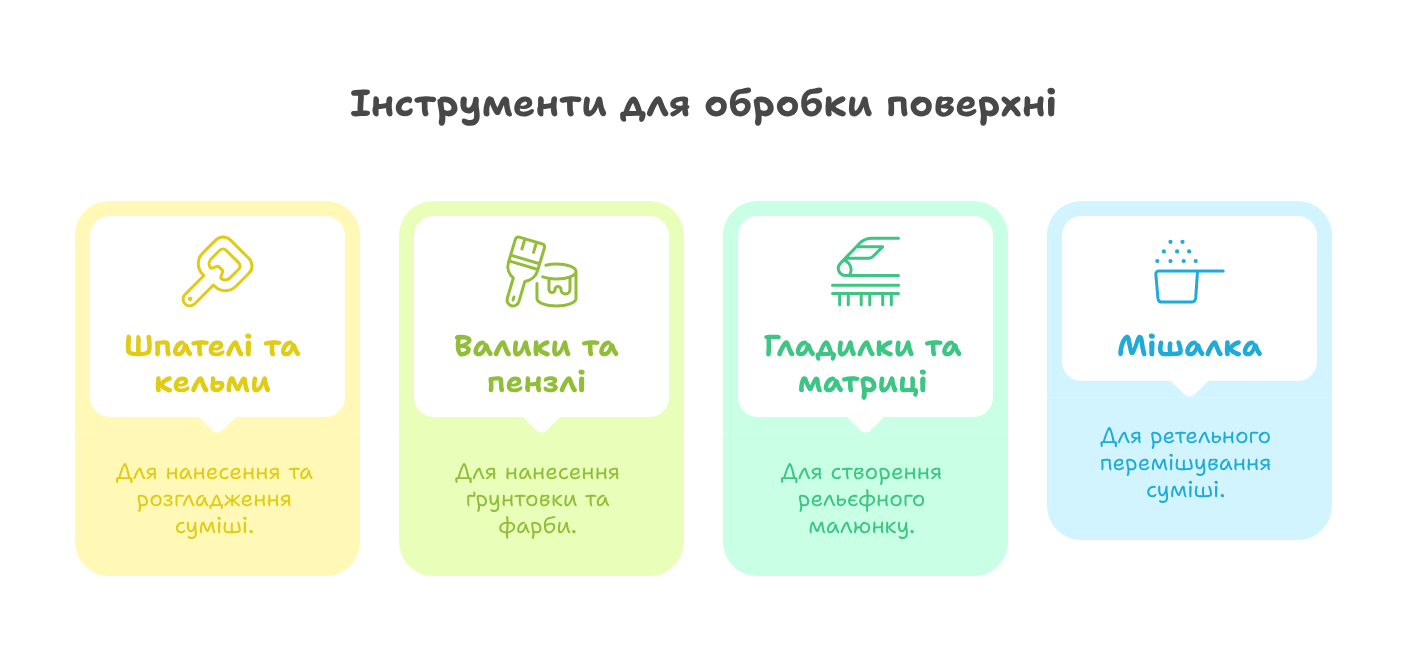
- Spatulas and trowels: for applying and smoothing the mixture.
- Rollers and brushes: for applying primer and paint.
- Float and matrices: for creating a relief pattern.
- Mixer: for thoroughly mixing the mixture.
Preparing the base
Before you start applying decorative plaster, it is necessary to prepare the surface:
- Cleaning: Remove dust, old finishes, grease, and other contaminants.
- Repair: Fill in cracks, unevenness, or other defects with putty.
- Priming: Apply a primer that will ensure better adhesion of the plaster mixture to the base. It is usually recommended to leave the primer for 24 hours before applying the main layer.
Step-by-step instructions: How to make decorative plaster by yourself
Step 1: Preparing the mixture
- Determine the type of mixture: If you choose a ready-made product, carefully read the manufacturer’s instructions. If you are preparing the mixture yourself, follow the recommended proportions.
- Dilution: Add the necessary amount of water, mixing thoroughly until a homogeneous consistency is achieved.
- Adding pigments: If you want to change the shade, add color pigments to the mixture and mix thoroughly.
Step 2: Applying the first layer
- Even application: Using a spatula or trowel, apply the first thin layer of the mixture to the prepared surface. This layer will help form a base for further texturing.
- Smoothing: Use a float to ensure even coverage. If you want to achieve an additional effect, you can use special tools (for example, sponges or brushes).
Step 3: Creating a textured effect
- Applying subsequent layers: After the first layer has dried (usually 24 hours), apply subsequent layers using different techniques to create the desired texture.
- Application technique: Use matrices or stamps to create a relief pattern. You can also apply the “wiping” or “marbling” technique to achieve a high craftsmanship effect.
- Drying control: Follow the recommended drying times between layers to avoid cracks and unevenness.
Step 4: Final finishing
- Sanding: If necessary, carefully sand the surface to remove excess unevenness.
- Protective coating: To increase the durability of the decorative plaster, you can apply a special transparent varnish or wax-like coating.
Tips and recommendations
- Planning: Carefully plan the sequence of work, especially if you are doing decorative plaster for a large area.
- Testing: Before the main work, try the technique on a small inconspicuous area to ensure the correctness of the chosen technology.
- Following instructions: Follow the recommendations of the material manufacturers. This will help avoid unexpected problems during work.
- Temperature and humidity: Pay attention to the weather conditions. It is ideal to carry out work at temperatures from +15 to +25 °C and low humidity, which promotes proper drying of the mixture.
- Personal safety: Use protective glasses, gloves, and a respirator when working with plaster mixtures, especially if using cement products.
Conclusion
Creating decorative plaster by yourself is not only an exciting process but also an opportunity to give your walls individuality and style. By using our step-by-step instructions, you will learn how to make decorative plaster by yourself, achieving a professional result without unnecessary expenses. Try different techniques, experiment with textures and colors – and your interior will shine with new colors!
Remember: the key to success is patience, attention to detail, and the desire to bring creative ideas to life. We wish you success in your projects and in creating truly unique interior solutions!
For additional information and advice, refer to specialized workshops and forums where decorative plaster issues are discussed. The more you know, the easier it will be for you to answer the question “how to make decorative plaster” and turn your ideas into reality.