Tiles can be a wonderful element of interior design, capable of not only improving the appearance of a room but also ensuring its practicality. Laying tiles on OSB boards is a great way to create a modern and functional space, but certain nuances must be considered before using tiles. There is a common belief that laying tiles on OSB is a complicated process, but with the right preparations and technologies, it turns out to be simpler than it seems.
Before moving on to the laying process, it is important to determine what to use to glue the tiles to the OSB board. The choice of adhesive will depend on several factors, such as the type of tile, the width of the joints, and the operating conditions. The real challenge is that OSB is a fairly hygroscopic material that reacts to humidity and temperature. Because of this, for better adhesion of the tiles, it is better to use special adhesive mixtures designed for laying tiles on wood or materials with similar characteristics.
Proper surface preparation is also quite important. You need to clean the OSB of dust and dirt in advance and level it from all sides. After that, it is recommended to apply a special primer to improve adhesion between the tiles and the surface.
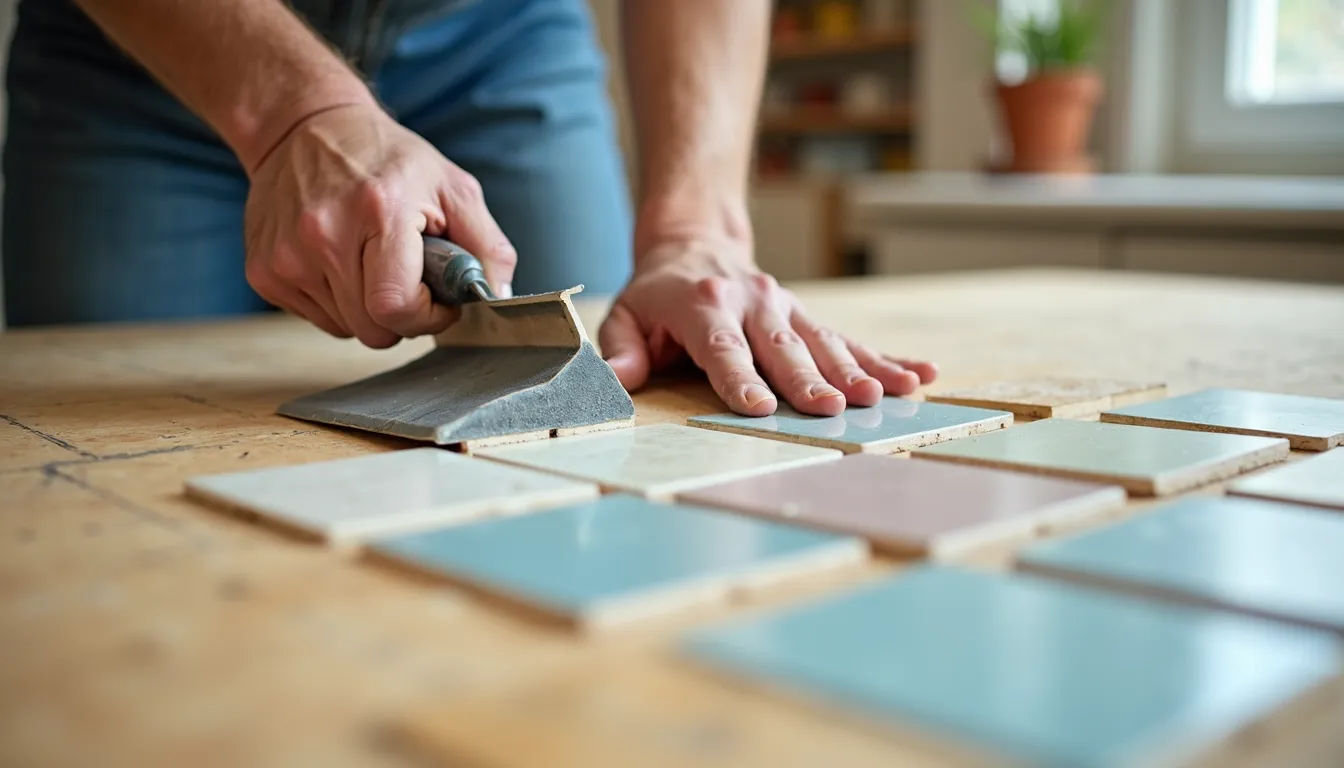
During the tile laying process, it is important to follow a clear action plan. One of the steps is applying the adhesive. This can be done using a notched trowel, which will allow for an even distribution of the adhesive over the surface. Such application will prevent the formation of air pockets and ensure a reliable bond of the tiles.
| Key advantages of laying tiles on OSB |
|---|
| Ease of installation |
| Diversity of designs |
| High resistance to moisture |
Additionally, it should be noted that tiles can “work” under the influence of various factors, so it is important to leave small gaps between the tiles and the wall. This will help avoid damage during temperature or humidity changes.
Remember that quality tile installation is not only about beauty but also about the durability of your renovation!
Preparing the OSB surface
Before laying the tiles, there are several stages of preparing the OSB surface that should be carefully performed to achieve the desired result. First of all, it is important to check whether the OSB board is in good condition. Remove all visible defects and irregularities, as even the smallest flaws can lead to problems with tile laying in the future. For this, it is best to use a sanding machine or sandpaper to smooth the surface.
After preparing the board, it is important to clean it of dust and dirt. The impact of dirt on the tiles can be destructive, as it prevents the adhesive mixture from properly bonding with the surface. For cleaning, you can use a soft brush or simply a damp cloth that does not have lint. It is important that the OSB board is completely dry before laying the tiles, as moisture can interfere with proper adhesion.
At this point, it is worth considering the use of a primer, especially if the board will be used in a humid environment. Special primers improve adhesion between the tiles and the OSB board, providing a more reliable bond. Choose a primer that corresponds to the type of adhesive you plan to use for gluing the tiles. After applying the primer, it should be allowed to dry, which will also take some time but will significantly increase the effectiveness of the installation.
Do not forget about the gaps between the tiles and the walls. They are important for compensating for the expansion of the tiles due to temperature or humidity changes. By leaving these gaps, you reduce the likelihood of cracks or tile delamination in the future.
After all the preparatory stages, you can confidently move on to choosing the adhesive for the tiles. This is one of the key moments, as the right choice will ensure not only quality installation but also the durability of the tiles. And here again arises the question – what to use to glue the tiles to the OSB board? Depending on the type of tile, purpose, and operating conditions, you can choose between standard tile adhesives or specialized ones suitable for use on hygroscopic materials, which OSB belongs to.
Choosing tile adhesive
When choosing tile adhesive, it is important to consider several key factors. First of all, the type of tile has a significant impact on your choice. For ceramic or porcelain tiles, standard tile adhesives are usually used, but if you plan to lay heavier materials, such as granite tiles, it is worth paying attention to epoxy or high-adhesion adhesive mixtures.
In addition, the operating conditions should also be taken into account. If the tiles will be laid in areas with high humidity, such as bathrooms or kitchens, special waterproof adhesives are needed. Such mixtures provide not only excellent adhesion but also protection against moisture, which is critically important for the durability of the installation.
Remember that poorly chosen adhesive can lead to cracks, tile delamination, or even breakage!
Another important aspect is the width of the joints between the tiles. If you plan to lay tiles with wide joints, it is better to choose an adhesive that allows you to adjust the open time of the installation, as this will help avoid the possibility of the adhesive hardening before the installation is completed.
| Types of tile adhesives | Purpose |
|---|---|
| Standard tile adhesives | For ceramic and porcelain tiles in normal conditions |
| Waterproof adhesives | For laying tiles in high humidity conditions |
| Epoxy adhesives | For laying heavy tiles, requires more preparation |
| Rubber adhesives | For flexible tiles with specific requirements |
Do not forget about the characteristics of the adhesive, such as drying time, application temperature, and the possibility of correcting the situation during installation. A quality adhesive should flexibly respond to changes in temperature and humidity, which is very important when laying tiles on OSB, as this material can expand and contract.
So, when you choose what to use to glue the tiles to the OSB board, consider the type of tile, operating conditions, and technical characteristics of the adhesive. The right choice of adhesive is an undeniable step towards successful tile installation that will serve you for many years.
Tools needed for the job
Before proceeding to lay tiles on the OSB board, it is important to have the necessary tools at hand. The right choice of tools directly affects the efficiency and quality of the work. So, what tools will you need in this process?
- Notched trowel — the main tool for applying adhesive. The different shapes of the trowel’s teeth allow you to adjust the thickness of the adhesive layer, which is very important for ensuring even and reliable adhesion of the tiles to the base.
- Tile cutter — perfect for accurately cutting tiles to the required sizes. You can use either a manual cutter or an electric tile cutter, depending on the volume of work.
- Tile laying board — this can be a simple wooden or metal tool that will help you support the tile during laying and hold it in place until the adhesive dries.
- Level and straightedge — necessary for checking the horizontal and vertical alignment of the installation. With the level, you can quickly identify and correct any discrepancies.
- Rubber mallet — this tool will help you easily lay the tiles without damaging their surface. Use the mallet to tap the tiles into place and ensure a strong connection with the adhesive.
In addition to the main tools, you will also need some additional materials:
- Gray or white tile adhesive — depending on your preferences and the color of the tiles; also consider that some adhesives work better with your type of OSB board.
- Grout — choose grout that matches the color of your tiles and the operating conditions of the room.
- Primer — by covering the surface with primer, you will increase the adhesion of the adhesive, significantly improving the final result.
| List of tools and materials |
|---|
| Notched trowel |
| Tile cutter |
| Tile laying board |
| Level and straightedge |
| Rubber mallet |
| Tile adhesive |
| Grout |
| Primer |
Using quality tools and materials is the key to successful tile installation!
Therefore, before starting work, make sure you have everything you need at hand. Proper preparation will allow you to focus on the tile laying process, simplifying and making it as efficient as possible.
Adhesive application technology
Applying adhesive to the OSB board is one of the important stages that directly affects the quality of tile installation. Before starting, carefully prepare the adhesive, mix it according to the manufacturer’s instructions, and let it sit for a few minutes to achieve the desired consistency. The correct viscosity of the adhesive will ensure even coverage and reliable adhesion.
When applying the adhesive, it is important to follow certain technical requirements. It is recommended to use a notched trowel, which will create even grooves on the surface. Depending on the type of tile and its weight, you should choose the size of the trowel:
- Four millimeters — for lightweight ceramic tiles.
- Six to eight millimeters — for medium-weight tiles or when improved adhesion is needed.
- Nine millimeters — recommended for heavier natural stones.
The adhesive should be applied in a direction away from you, starting from one corner of the room. It is important to ensure that the adhesive layer is even and the grooves are deep. This is necessary for better adhesion of the tiles, as air pockets can form inside the joints, which can compromise the strength of the installation.
After applying the adhesive, it is advisable to wait a while — this way you can ensure ideal conditions for adhesion. The waiting time varies depending on the type of adhesive, so be sure to check the instructions. Once the adhesive starts to dry slightly, you can proceed to laying the tiles.
Never rush: quality installation is more important than speed!
Remember that during tile installation, gently press the tiles into the adhesive to avoid damaging the surface. With proper adhesive application, you can achieve better results: the tiles will not only look aesthetically pleasing but will also serve you for many years.
Particular attention should also be paid to the ventilation of the room. With good air circulation, the drying time of the adhesive is significantly reduced, which in turn speeds up the process of completing all work. Finally, do not forget about the importance of controlling humidity and temperature in the room, as this can significantly affect the adhesion of the adhesive and the durability of the tile installation.
By using the right techniques and trusting in the power of quality materials, you can be confident that your tiles will be securely glued to the OSB board, protecting your interior from any problems.
Tile installation: step-by-step instructions
The process of laying tiles can be divided into several key stages that will help you avoid mistakes and achieve excellent results. Let’s start with a step-by-step guide that will serve as the foundation for your work.
First, after the final application of the adhesive, align the tiles on the surface. Do not forget to check their level using a level. For this, it is advisable to immediately after laying the tiles, tap the surface gently with a rubber mallet. This will help secure the tiles in place and ensure a bond with the adhesive.
Continue laying the tiles, following the previously chosen pattern or design. It is recommended to start from the center of the room and move towards the edges, so that in the end the joints are symmetrical. Remember: the number of tiles being laid should correspond to the pre-calculated results to avoid unforeseen situations such as insufficient material.
Particular attention should be paid to the joints between the tiles. For this, use plastic spacers or special wedges. They will help maintain an equal distance between the tiles and also allow the tiles to “work,” compensating for changes in temperature and humidity. This is important, as tiles on OSB can expand or contract, which, in turn, will affect the durability of the installation.
Once the tiles are laid, allow them time to dry: this may take several hours, depending on the type of adhesive. Again, it is important to follow the manufacturer’s instructions. During this time, avoid walking on the tiles to maintain the uniformity of the installation.
The time spent on proper tile installation always pays off in the future! That’s why pay attention to accuracy and attention to detail.
After the adhesive has dried, you can proceed to grouting the joints. Use special grouts that have been pre-selected according to the color of the tiles and their purpose. This will allow you to complete the tile installation process on the OSB board and create a stylish and elegant look for your room.
It should be noted that to glue the tiles to the OSB board and achieve lasting beauty, all stages of installation must be considered, starting from the adequate choice of adhesive and ending with quality checks at each stage of the work. After all, even the smallest details can play a decisive role in the overall impression of the renovation. So, by following our recommendations, you will surely achieve the desired result!
Grouting the joints between tiles
Grouting the joints between tiles is an important stage in completing the tile installation on the OSB board. This process not only adds an aesthetic appearance to your renovation but also provides waterproofing and protection against dirt. It is important to remember that grouting helps to compensate for small movements of the tiles. This is crucial, as the OSB board can react to changes in humidity and temperature, causing the tiles to expand or contract.
Before starting to grout, make sure that the adhesive used to glue the tiles is completely dry. This usually takes 24 to 48 hours, depending on the type of adhesive. After that, you can proceed to choose the grout, which should match the color and type of the laid tiles. This will make the joints inconspicuous and each tile more pronounced.
| Criteria for choosing grout |
|---|
| Color matching with the tiles |
| Water resistance (for bathrooms and kitchens) |
| Resistance to various mechanical damages |
Before grouting, the joints should be prepared. For this, it is useful to use a special syringe or manual tool to fill the joints with grout. Fill the joints diagonally to the tiles, trying not to leave air pockets that could lead to problems in the future. After filling the joints, remove excess grout with a damp sponge or special tool.
Do not forget that grouting is not just an aesthetic element, but an important part of the structural reliability of the installed tiles!
Allow the grout to dry according to the manufacturer’s instructions, which usually takes 24 to 72 hours. In the meantime, it is important to avoid direct contact of the wet grout with the tiles to prevent damage to the painted surface.
After the grout has dried, it is advisable to clean the tiles. For this, you can use special cleaning agents or just water. A damp cloth and a soft sponge will help remove any grout residue that may have gotten onto the tiles. The final step will be treating the joints, which includes sealing to prevent moisture penetration.
Thus, by completing the grouting of the joints, you will not only improve the appearance of your tiles but also extend their lifespan. This is an important step in achieving a flawless result, which will show that tile installation is not just a technical process but an art of creating an aesthetically pleasing and durable interior. Remember, the right choice of grout and adherence to all grouting stages is the key to the success of your project, and thus to the beautiful appearance of your room!
Care for tiles after installation
Caring for new tiles is also a key point that should not be underestimated. After laying the tiles, it is important to follow some rules to ensure their durability and preservation of aesthetic appearance. First, avoid placing heavy objects on the tiles for the first few days while the adhesive fully dries. This will help prevent deformations and cracks that may occur under excessive load.
During the first weeks after laying the tiles, it is recommended to avoid moisture. Although the right adhesive provides waterproofing, excessive humidity can negatively affect the bonding process. Therefore, it is better not to wash the tiles or use wet cleaning devices during this period.
In addition, pay attention to the choice of cleaning agents for the tiles. It is important to avoid aggressive chemicals that can damage the tiles or their grout. Instead, it is better to use mild detergents that are suitable for your type of tiles. If the tiles have a matte surface, use soft sponges to avoid scratches, and for glossy tiles – soft microfiber cloths.
| Tips for caring for tiles |
|---|
| Avoid heavy objects on the tiles for the first few days. |
| Do not wash the tiles openly to limit moisture. |
| Use mild detergents and sponges. |
| Regularly check the joints for grout fullness. |
Caring for tiles is not just about cleaning, but also about maintaining their beauty and durability!
It is also important to periodically check the joints between the tiles. If cracks or delamination of the grout appear, they should be promptly filled with new grout. This will not only extend the lifespan of your tiles but also prevent moisture penetration, which can lead to further problems.
It is also important to maintain normal temperature and humidity conditions in the room, as sharp fluctuations can negatively affect the installation materials. In particular, if you live in areas with high humidity, investing in several ventilation systems may be a good idea. The quality of the air and the absence of excess moisture will benefit not only your health but also the health of your new tiles.
Ultimately, proper care for tiles after installation is the key to their durability and aesthetics. You will not only ensure the brightness and cleanliness of your surfaces but also enjoy the result of your work for many years. And remember, by taking the time for proper care, you can avoid unforeseen expenses for repairs or tile replacement in the future.
Common mistakes and how to avoid them
Here are some common mistakes that can occur during tile installation on OSB boards, along with tips on how to avoid them:
- Insufficient surface preparation: Many beginners or even experienced craftsmen sometimes neglect thorough preparation of the OSB board before laying tiles. Any defects, irregularities, or dust residues can lead to the tiles quickly delaminating or cracking. Before starting the installation, make sure the surface is perfectly level and clean.
- Incorrect choice of adhesive: We all know that there is no universal solution. Using the wrong adhesive can lead to serious problems. Remember that OSB boards have specific characteristics, so it is important to choose an adhesive designed for use with hygroscopic materials. Do not forget to check the manufacturer’s specifications.
- Ignoring temperature and humidity in the room: Ignoring environmental conditions can affect the quality of the tile’s adhesion to the OSB board. Temperature and humidity should remain within the limits recommended for the adhesive used. For this, it is advisable to work at moderate temperatures and in dry conditions.
- Lack of gaps between the tiles and walls: Insufficient space between the tiles and walls can lead to cracks. Be sure to leave gaps that will allow the tiles to “work” under changing temperature and humidity conditions.
- Incorrect and uneven application of adhesive: Applying adhesive too thinly or unevenly can lead to the formation of air pockets that prevent the adhesive from properly bonding with the tiles. Use a notched trowel to evenly distribute the adhesive.
- Improper curing of joints: After laying the tiles, insufficient attention to grouting can lead to increased water retention in the joints, which in turn causes deterioration. Ensure that the grout properly fills all joints and has a suitable composition for your material.
Remember that accuracy and attention to detail are the keys to successful tile installation!
Therefore, to avoid these mistakes, it is important to approach the process of laying tiles on OSB boards with all seriousness. Careful adherence to each stage, including the choice and application of adhesive, surface preparation, grouting, and tile care, is critical to the success of your project. When performed correctly, all these actions will allow you to enjoy a flawless, beautiful, and durable result.