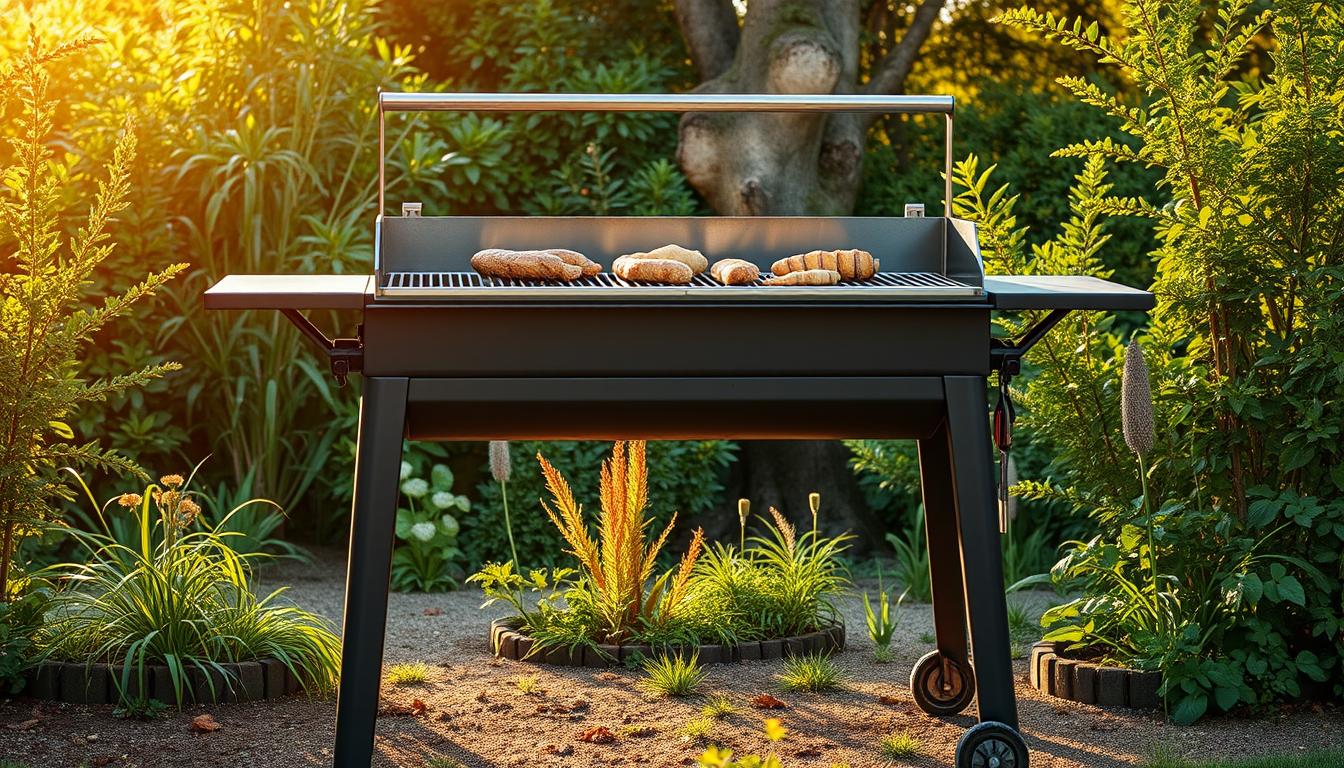
Looking for the perfect place for a barbecue? You’ve come to the right place. Creating a grill by yourself is a way to save money and an opportunity to create something unique. It’s not just about the construction, but also about making something special.
In this article, we will talk about creating a grill. From choosing materials to assembly. We will also share useful tips and tools for the perfect barbecue spot. For example, the depth of the pit for the foundation should be about 30-40 cm.
Key Points
- Creating a grill by yourself allows you to create something unique and individual
- DIY grill or homemade grill is not just about the construction, but also about the process of creating something special
- The depth of the pit for the barbecue foundation should be about 30-40 cm
- Choosing materials and tools is an important step in creating a grill by yourself
- Creating a grill by yourself allows you to save money and create something special
What is a grill and its purpose?
Grill is a traditional device for cooking food over an open fire. It has a long history of grills that dates back to ancient times. Back then, people began to use fire for cooking.
Over time, the grill has changed a lot, but its main function has remained the same. Today, there are many types of grills. They differ in material, size, and purpose.
Metal grills are lighter but less durable. Stone or brick grills are more robust and long-lasting.
Grills can be divided into two types: portable and stationary. Portable grills are made of thin metal. They are lighter but burn out faster.
Stationary grills are made of stone, brick, or thick metal. They are sturdier and more durable.
When choosing a grill, several factors need to be considered. For example, the location, the number of people who will use it, and the type of cooking. Each type of grill has its advantages and disadvantages.
Why should you make a grill by yourself?
Creating a grill by yourself can be very beneficial. You can choose the materials and design that you like. This allows you to create something unique that reflects your personality.
One of the main advantages is cost savings. A ready-made grill in a store can cost up to 1000 hryvnias. A homemade one costs only 300-500 hryvnias. This is significant savings, especially for those who want to save.
Individuality in design is another plus. You can choose the materials, colors, and shapes that you like. This will make your grill not only functional but also beautiful.
You will also be able to choose high-quality materials. This is very important if you want your grill to last long.
Necessary tools for making a grill
To create a grill, special tools are needed. They will help create the perfect barbecue spot. Main tools include tongs, a thermometer, and a cover.
The choice of tools depends on the type of grill. For example, a gas grill requires special tools.

There are also additional accessories like spatulas and gloves. They will help in cooking. Accessories can be found in specialized stores or ordered online.
Grills can be made from various materials, such as metal sheets. Information about materials and tools can be found on the metal constructions website.
Choosing materials for the grill
When creating a grill, you can choose different materials. For example, metal or brick. Metal is lightweight and easy to clean. Brick allows for an authentic design.
Metals such as cast iron or stainless steel are popular choices. Cast iron grills can last up to 10 years. Stainless steel grills can last up to 20 years.
Steel grills are made from metal that is 3-4 mm thick. This provides high wear resistance. They can withstand temperatures up to 600 degrees.
For finishing the grill, additional materials can be used. For example, wood or stone. Wood is perfect for creating countertops. Stone can be used for the exterior of the grill.
When choosing materials for the grill, it is important to consider several factors. For example, durability, ease of cleaning, and ability to withstand temperature. Both materials – metal and brick – are good options. The choice depends on your needs and design.
Additional materials, such as fireclay or chamotte bricks, can also be used. Fireclay can be mixed with water to improve durability. Chamotte bricks can withstand temperatures up to 1400 degrees.
Step 1: Planning the grill’s design
First of all, you need to determine the dimensions and style of the grill. Choose a size that suits you and a style that you like. Also, decide what shape you want: straight, round, or oval.
Dimensions of the grill should be comfortable for use and placement. The length should be between 50-70 cm, the width – 30-40 cm, and the depth – 15-20 cm. The legs should be about 70 cm high, and the metal tubes should be 2.5 cm in diameter. Ventilation holes should be 1.5 cm in diameter, located every 10 cm.
For planning the grill’s design, you can use the following table:
| Parameter | Size |
|---|---|
| Length of the grill | 50-70 cm |
| Width of the grill | 30-40 cm |
| Depth of the grill | 15-20 cm |
| Height of the legs | 70 cm |
| Diameter of the metal tubes | 2.5 cm |

Planning includes deciding on the dimensions, style, and shape of the grill. Choose a style and size that you like. Also, decide what shape you want: straight, round, or oval. Dimensions should be comfortable for use and placement.
Step 2: Preparing the workspace
Preparing the workspace includes clearing the area and ensuring safety. This is an important step in creating the grill. It affects the quality of work and the safety of the person.
Clearing the area involves removing unnecessary items. This can include grass, branches, and other materials. After that, it is necessary to ensure safety by using protective gear.
For safety, it is important to follow the rules. For example, use gloves and goggles. It is also important to follow fire safety rules.
Preparation also includes ensuring comfortable conditions. For example, adequate lighting and ventilation are needed. You should also have all the necessary tools and materials.
The table below presents the main steps for preparing the workspace:
| Step | Description |
|---|---|
| Clearing the area | Removing all unnecessary items and materials |
| Ensuring safety while working | Using personal protective equipment such as gloves and goggles |
| Ensuring proper working conditions | Lighting, ventilation, tools, and materials |
Preparing the workspace is a key step in creating the grill. It ensures safety and efficiency of work. It also creates comfortable conditions for the worker.
Step 3: Assembling the grill frame
Assembling the grill frame starts with installing the base. It can be made of metal or brick. This step ensures strength and stability.
When connecting parts, it is important to use the right tools. For example, wrenches and socket wrenches. The dimensions of the grill box should be 40×80 cm. The thickness of the steel sheet for the grill varies from 0.4 to 1 cm.
For strength, a profile pipe of size 30x30x1.5 mm or 40x40x1.5 mm is used. The thickness of the metal for the grill box should not be less than 3 mm. This prevents burning through after a few years.

When assembling the grill, it is important to consider the height. The optimal height is 85 cm. The walls of the grill box should measure 77×20 cm, and the cross walls should measure 39×20 cm. For the bottom, two cross pipes of 39 cm in length are needed.
Assembling the frame includes installing the base and connecting parts. For this, iron legs of 65 cm in length are needed. Each horizontal connection should be 76.5 cm long.
Step 4: Finishing touches
Finishing touches are very important for creating the grill. They affect its appearance and functionality. It is important to choose paint or varnish that will be attractive and withstand high temperatures.
Adding decorative elements adds individuality and style to the grill. These can be wooden or metal details. They will not only beautify the grill but also create a unique atmosphere for gatherings.

Choosing paint or varnish
When choosing paint or varnish, several factors need to be considered. Color, texture, and resistance to high temperatures are important. This will help you choose the perfect option for you.
Decorative elements
Decorative elements create a unique design for the grill. They can be different, for example, metal or wooden. They can be combined with other materials for an original look.
Step 5: Testing the grill
Testing the grill includes safety rules for lighting and checking the strength of the structure. This is an important step for the safe operation of your homemade grill. During testing, safety rules should be followed, such as using personal protection.
Before lighting the grill, you should check the strength of the structure. This can be done by checking all connections and elements for strength. If you used metal, the thickness of the metal should be at least 2 mm.
During testing, you should also check the heat conductivity of the grill. This can be done by placing a thermometer near the grill and measuring the temperature. If the temperature is too high, the grill’s design should be adjusted.

To ensure safety when lighting the grill, several recommendations should be followed:
- Place the grill at least 3 meters away from buildings and other fire hazards.
- Use personal protective equipment such as gloves and goggles.
- Never leave the grill unattended while lighting.
During testing the grill, you should check its strength of the structure. This can be done by conducting strength and stability tests. If the grill’s structure turns out to be weak, it should be adjusted to meet safety requirements.
Tips for the perfect BBQ
Preparing the perfect BBQ requires attention to detail. It is important to choose different types of meat. You can choose pork, beef, or chicken, depending on your taste.
The right seasonings and marinades are also important. They help create the perfect flavor.
First, you should choose high-quality meat. Pork is perfect for grilling. It has a lot of fat to stay juicy.
Beef is a popular choice, especially for exotic flavors. Chicken is a lighter option but still very tasty if cooked properly.
Choosing seasonings and marinades is important. Spices like paprika, garlic, or chili can add flavor. Marinades, such as soy sauce or olive oil, make the meat juicy and aromatic.
- Choose high-quality meat suitable for grilling.
- Use various spices and marinades to add flavor to the meat.
- Don’t forget about proper cooking of the meat to keep it juicy and aromatic.
With these tips, you can create a true culinary masterpiece. It is important to consider the types of meat, seasonings and marinades when preparing the perfect BBQ.
Additional ideas for using the grill
Your grill is not just for meat. It can also be a place for cooking vegetables and side dishes. This will add variety to your meals.
The grill is perfect for outdoor parties. Organize a barbecue with friends and family. Enjoy the taste of dishes, fresh air, and great times.
By using the grill for various purposes, you will discover its advantages. Your grill will become key in culinary experiments and unforgettable parties.